55 gal w/ internal overflow and refugium build

Docstach

Non-member
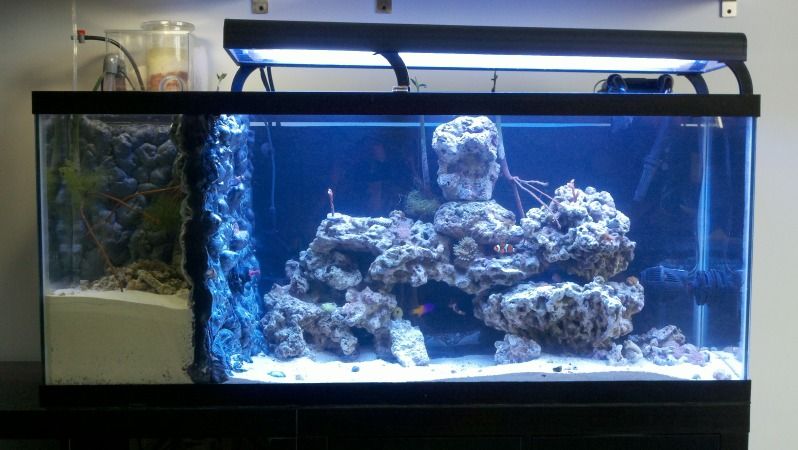
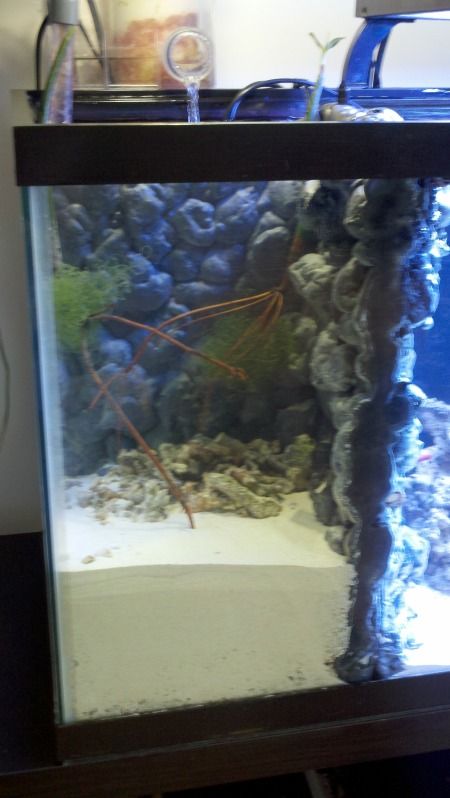
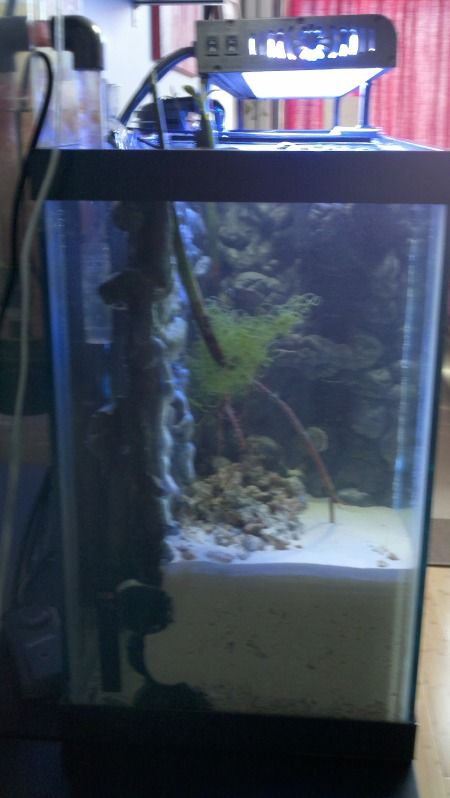
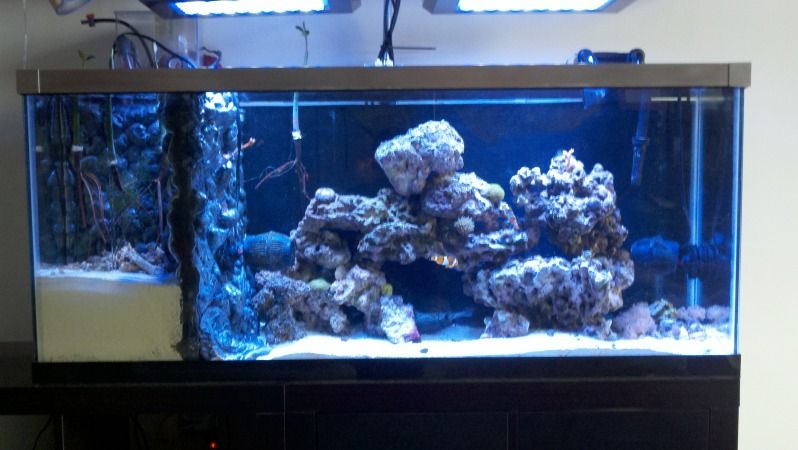
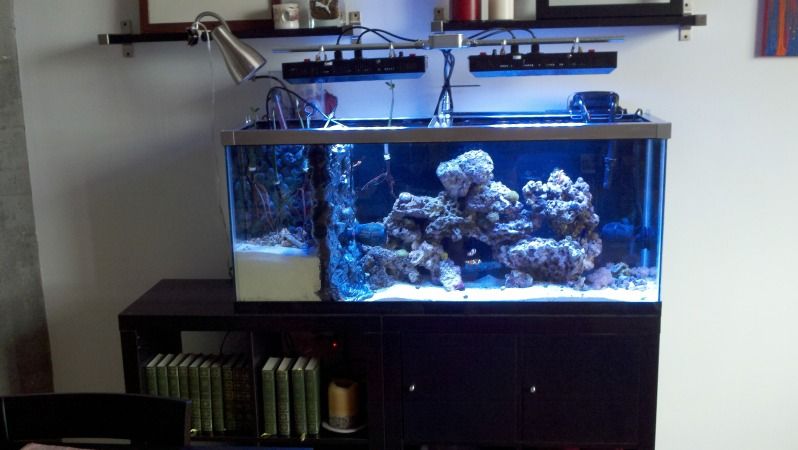
So I currently have a 30 gal (36x12 footprint) setup with HOB skimmer and external (HOB-like) refugium. Everything seems to work well, but the refugium was a DIY that I wish I had done a touch differently which sits behind my aquarium. For some reason I get a kick out of the macro algae/pods in the refugium and I can not see them very good. In addition since it was a DIY out of acrylic, I am paranoid it is one day going to leak (although so far it has been perfect). That being said I decided to switch to a 55 gall (48 x12) and section off the last 12" as an "internal" refugium where I can grow macro algae and maybe get a small mantis. That way I can easily view it and there is no chance of it leaking (it is not possible for me to have a sump right now). Since I am on a tight budget, I have to try to reuse as much as possible. Here are my plans so far. I am mainly writing this up just to get my thought down so I can see what I need to get done....
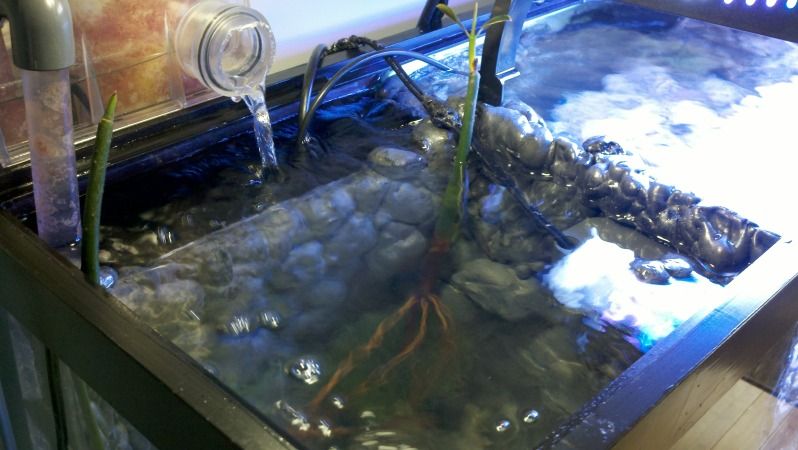
Top view:

tank.jpg


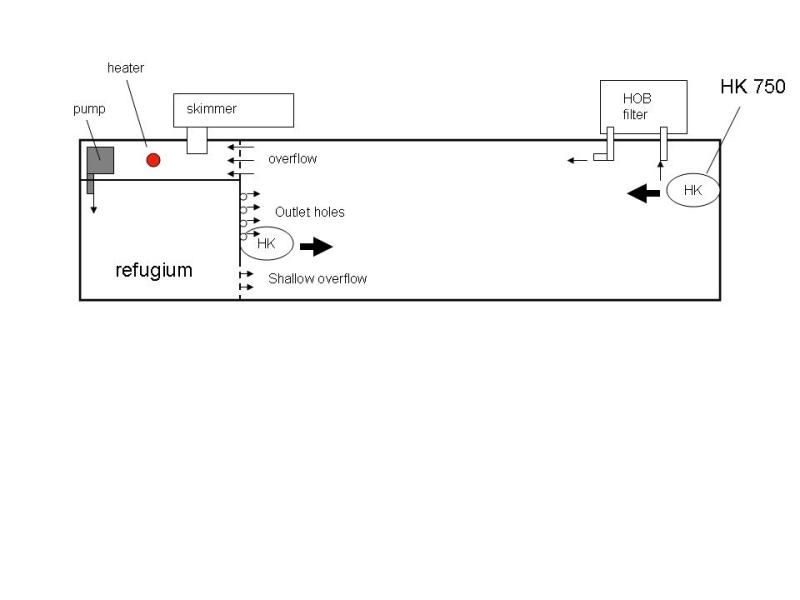
The refugium is going to have a 5" DSB, macro, rubble rock, and a mangrove or two that I already have.

Things I have and can reuse:
Liverock
some rock rubble
some sand
MCE 300 skimmer
magnum 250 HOB filter (use to provide flow, run carbon or GFO when needed)
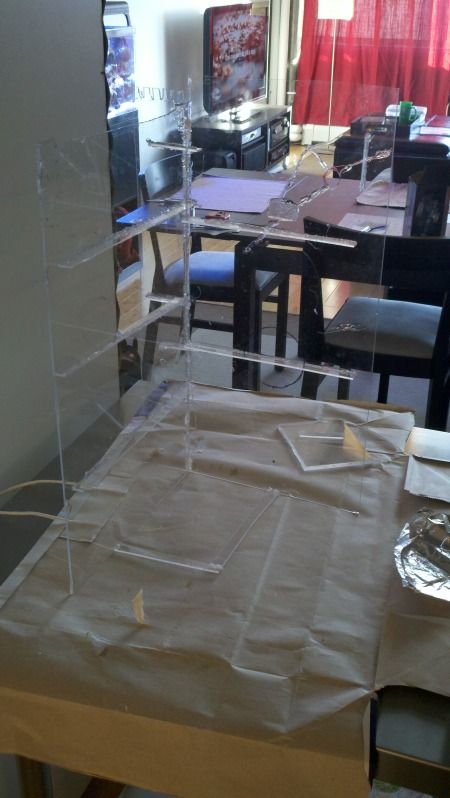
acrylic from old refugium
2x hydor Koralia evo 750s
MJ 400 and 1000

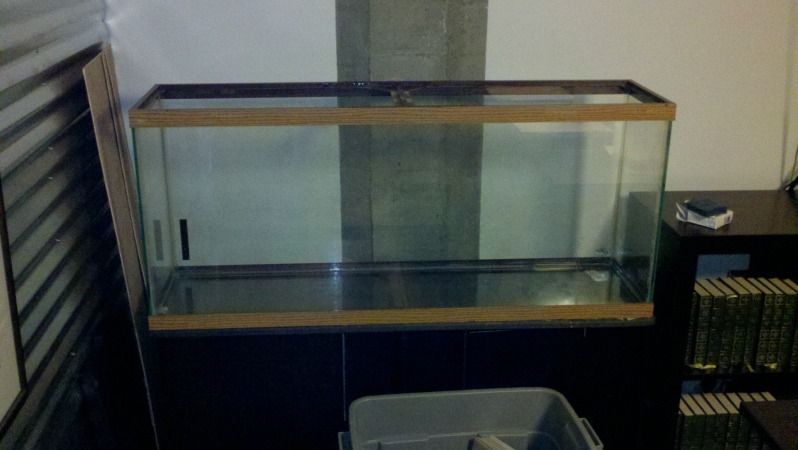
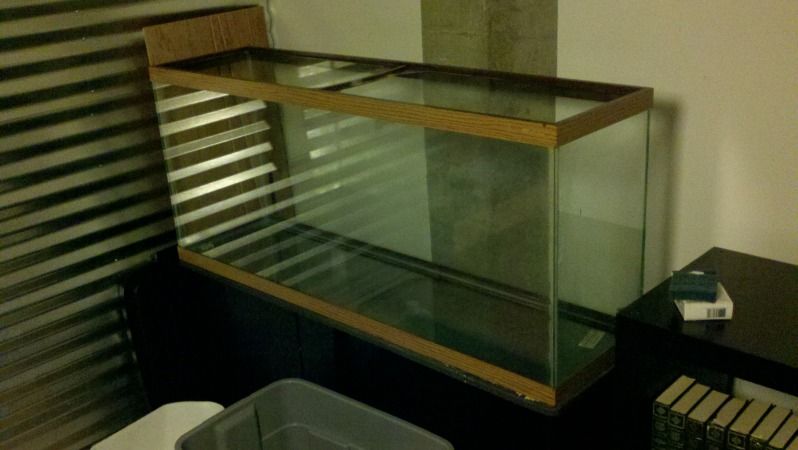
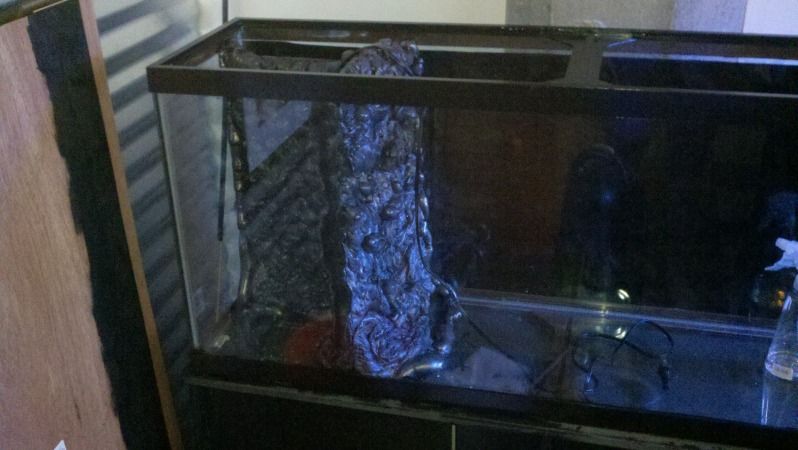
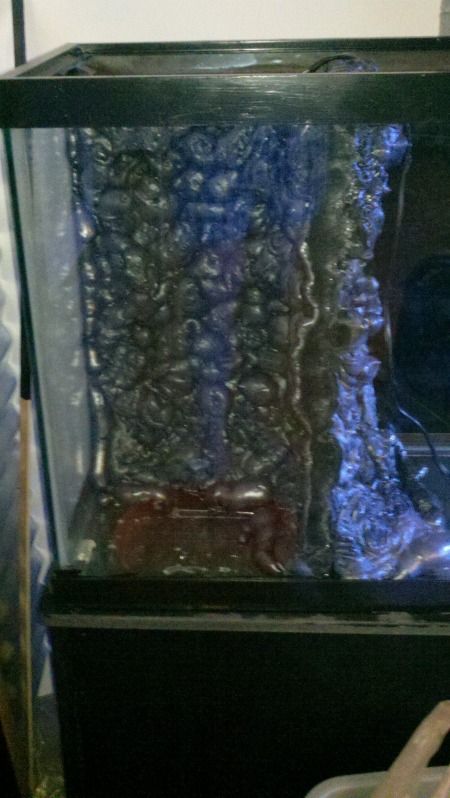
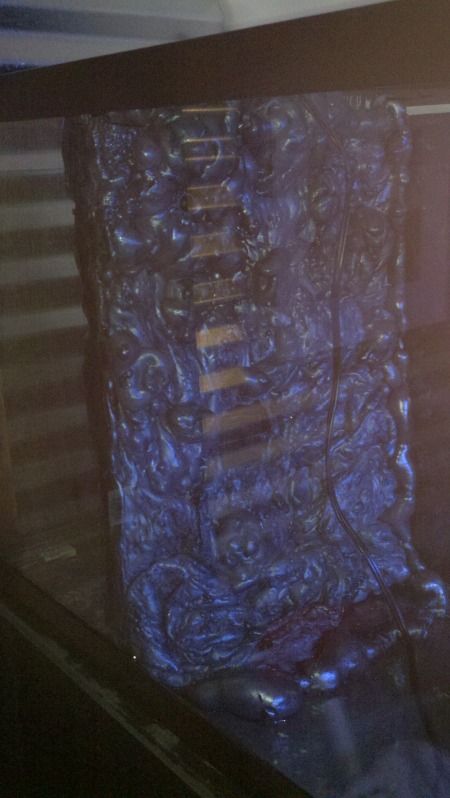
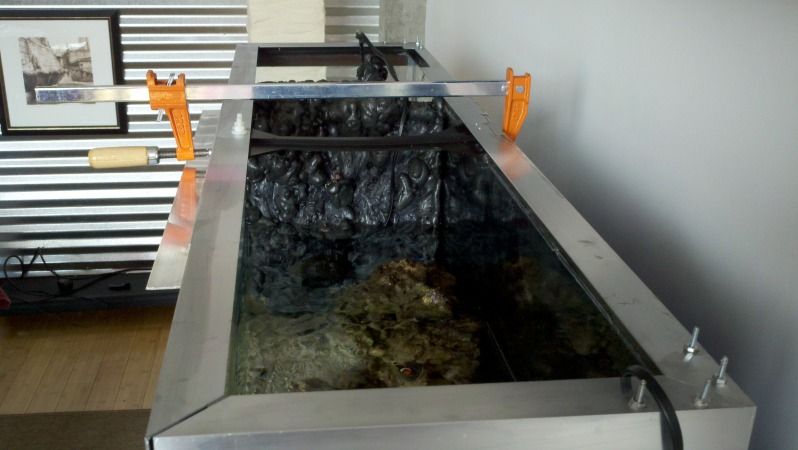
And as of last night....

2012-05-31_23-41-09_782.jpg


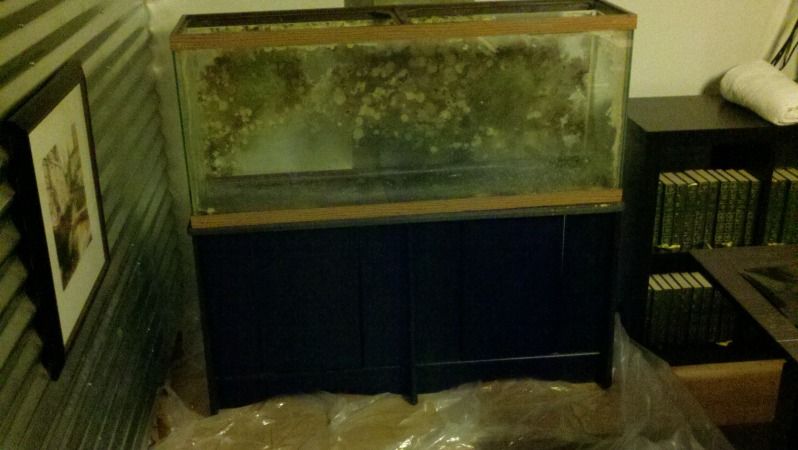
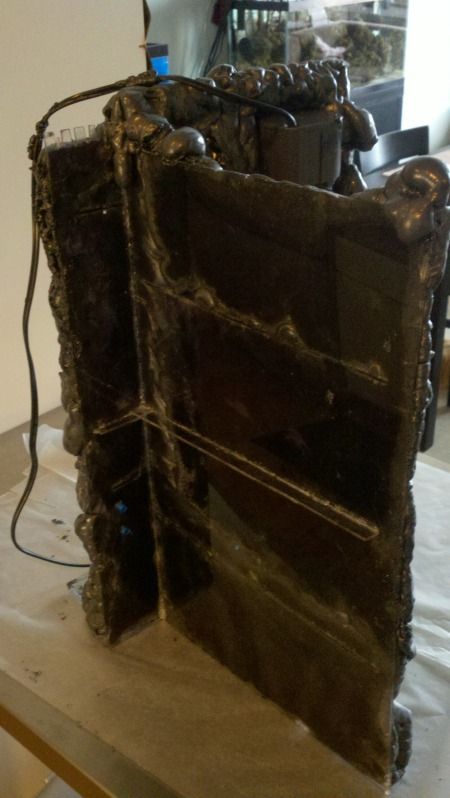
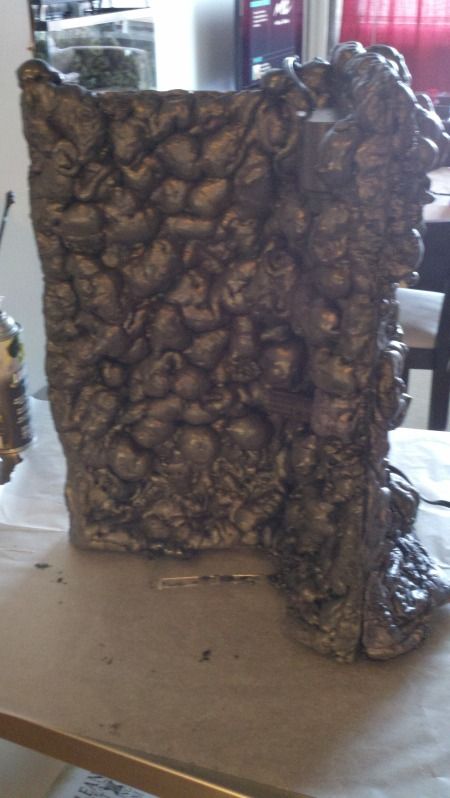
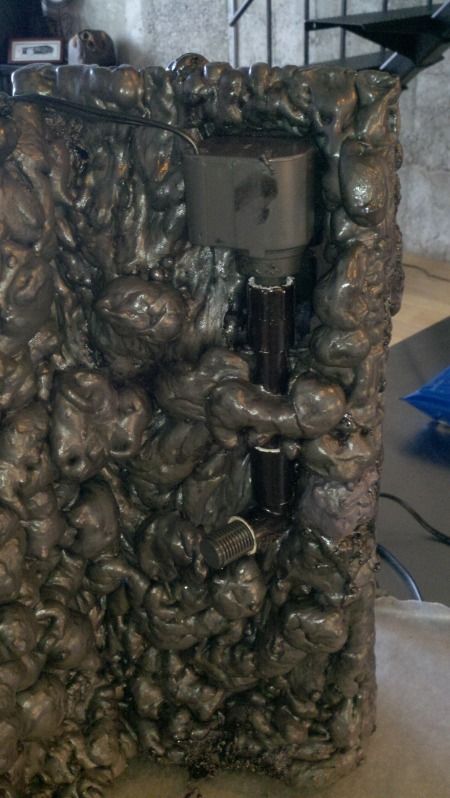
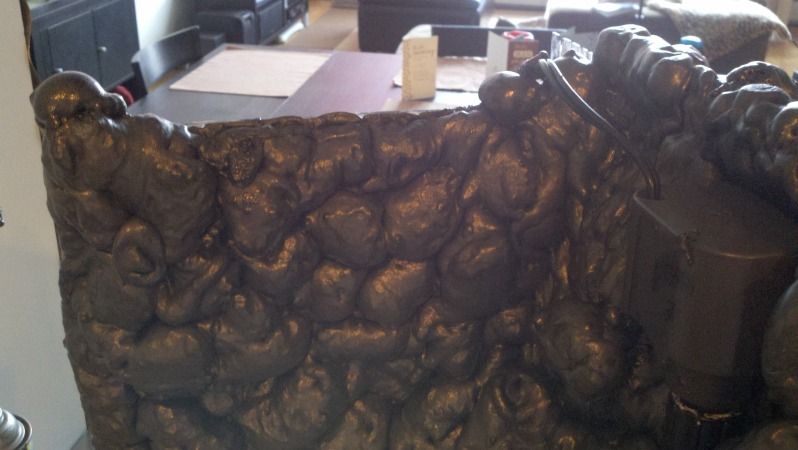
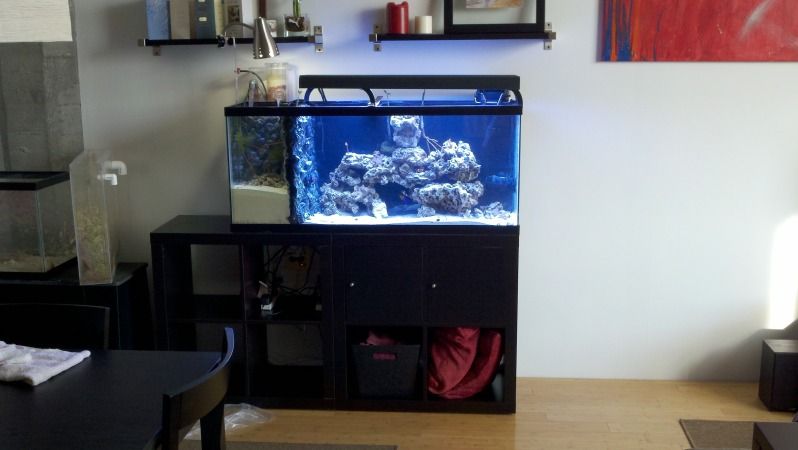
It definitely needs really cleaned up as there is a ton of coraline buildup but overall it the tank seems to be in good shape. It is an all-glass tank that seems put together quite well. The stand needs some TLC as well, but could be decent although I don't think I am going to be using it. As my wife wants the 50 where the 30 is which should work fine.

lighting: I was planning on using my 36" 4xT5 light and current refugium light until I could afford a better light, but the 55 I purchased came with a 48" 4xPC light that I like the design of (coralife which flips up to get out of the way). Now I am a little unsure of which to use. The T5 has new bulbs and should provide more light over the display. The PC would be less light (I'm guessing) but would be one light over the entire tank, but it needs all new bulbs... So I think I might save the 80 in bulbs and try to use the 36" until I can get something better (thinking 2 x 120 LED )

Things I need:
Little more sand and rubble rock
depending on price it might be a lot easier to just go to home depot and buy some new acrylic for the internal dividers
black paint for the aquarium trim (?back glass)
Lots of vinegar :)
containers to hold everything while making the switch (2x 5 gal buckets, 1x 20-30 gal container?)
wood sheet painted black to place under aquarium to protect stand (actually a sturdy bookcase)
tiles to slightly elevate stand (so there can be a little air in case water spills)
>>>> space reserved for the 100 other things I am not thinking of :)

The tricky part is going to be moving everything over as the 55 needs to go where the 30 is and I will be reusing all of the sand/rock. Should be fun though as long as I can keep our wood floors dry
 
I'd make the main dividers out of glass, then make an acrylic add on if you want teeth.

If you make the dividers out of acrylic you will be dealing with the acrylic bowing to some degree, swelling to some degree, AND silicone doesn't stick to acrylic with full strength, so you would have three factors tempting something to come apart.

Yea, thanks, I was thinking about that some. I will look into getting glass pieces in the proper size and see how much it will be. But, I think if i need to I can get acrylic to work. I was planning on leaving room for expansion and was hoping to design it in a way that even with the overflows there would be a good amount of water on all sides to help with bowing.

this is going to be amazing!

Thanks, it will at least be a little different, but after seeing some of the peoples tanks on here I would hardly call it amazing :)
 
The tank is Clean! Filled it up with vinegar water and let it sit for a few day. scraped what I could off, then laid the tank on one of its sides at a slight angle and used lip on the rim to hold a thin layer of 100% vinegar for a day or two. That allowed me to get the rest of the coraline off. I then rotated sides. Somewhat slow process, but considering it was taking place in our living room (really our only room as we have an open loft) not too bad. Thankfully we have pretty large windows I could keep open to keep down the smell. I have to admit my wife was very understanding throughout the whole process!

2012-06-07_23-30-21_620.jpg


2012-06-07_23-30-00_529.jpg


Pics are dark, but it was late last night when I finished. Tank looks pretty good. Next up is to cover the "wood" trim and start my internal dividers. I originally planned on using clear glass or acrylic to make my divisions to help with lighting. However, the central divider may be a pain to clean and would get covered in coraline anyway, so I think I am going to cover everything in a foam rock wall. I also changed up the plan a little and will be actively pumping h2O from the refugium into the main display instead of from the back false wall/heater&skimmer area.
 
It never fails....

So I am building the foam "rock" wall divider for my tank, that will have a MJ and a hydor koralia somewhat imbedded in it as well as several drain hols. Everything was going pretty well, I had all the holes drilled and pumps positions drawn in. Here's the dumb part.... As I was so concerned at how the foam would look, I proceed to foam away oblivious to all of my markings :( (maybe it was the fumes. At least I realized what I had done before everything was completely hard and was able to cut off the circle for the HK and get my epoxied magnet on the opposite side to help hold the HK in place. The area for the MJ is also clear and should be ok.

I also ran out of foam, so will have to wait for more to arrive. Will have pics of the finished product soon, but so far other than my bonehead move, I think it looks pretty good.

Man as someone who is suppose to be somewhat intelligent, I can be DENSE.

bad pic, but pre foam. Can't really seen the outline of where the pumps will be, other than the hole with the red outline (where MJ will go). I cracked the piece drilling the hole, but fixed ok. Not really worried as foam and water will be on both sides. Ended up going with acrylic for better or worse, just because of cheapness and easily able to work with.

2012-06-17_18-55-27_908.jpg
 
I got the foam divider done. Not quite what I was planning, but I think it will work once I get everything in the tank. If anyone is interested few tips for the foam.... 1) go slow and in short individual bursts 2) it will expand more than you think (even after you think it is done expanding). 3) let it dry a little and then the foam is pretty easy to manipulate. You can bend/pull or smash (deflate) the foam to better suit what you want. 4) wear gloves

wall facing main part of tank with overflow in top right, MJ outlet in top left, and area for Korolia 750 in centerish.
2012-06-23_12-14-03_120.jpg


Inside overflow area
2012-06-23_12-13-33_519.jpg


back wall of refugium area (overflow area behind this)
2012-06-23_12-14-56_465.jpg


refugium side of internal divider/wall with attached MJ and intake. Struggled to get it so the Mj was fairly hidden from front view, but could still be remove it if needed as I know it will fail as soon as the tank is set up....
2012-06-23_12-15-08_218.jpg


closeup of overflow into refugium
2012-06-23_12-15-20_401.jpg
 
couple of bad shots of it in the aquarium. just need to get some sand and can start moving forward. Also got the aquarium trim painted black.
2012-06-23_18-30-17_971.jpg


2012-06-23_18-30-31_442.jpg


2012-06-23_18-30-45_107.jpg
 
Last edited:
It's Alive!

2012-07-01_17-55-50_391.jpg


It took the better part of the weekend, but I got everything set up and transfered over from the 30 gal. And it actually worked. I used a little too big up a pump to move water from the refugium to the main display, but otherwise things seem in order.
So far everything looks pretty good. A few of the corals are retracted and my BTA decided to move, but everything seems alive. Few tweeks and finishing touches that need done. On the far right bottom I was planning on a xenia "meadow" but the flow is more than I expected there so I am not sure if I will be able to keep them there. Still need to adjust the rock some, but good enough for now. I will be moving one more of the mangoves into the refugium and the other probably on the far right, but i am waiting on some clear acrylic rod to hold them in place.

Ohh, and yes I will be replacing the lights very soon.

closeup of refugium
2012-07-01_17-56-36_29.jpg


overflows
2012-07-01_17-56-48_730.jpg


back area and refugium
2012-07-01_17-57-58_824.jpg


right side of tank with xenia meadow on bottom
Large Image Link (156 kB)
 
Did not post any pics, but as I posted on another thread the top trim started to split. Since I had too much time/money into setting this 55 up, I decided to try to fix it instead of getting a new tank. i purchased some 1.5" aluminum angle to made a new trim. The aluminum is quit stiff and should resist bowing well. With the help of another member on here, I got the aluminum cut to size, buffed out with a scotch bright pad, and here is the result. I think it turned out great, super stiff and looks pretty good.

2012-07-14_16-28-09_528.jpg


2012-07-15_18-24-00_399.jpg


Also fabricated a light hanger out of EMT tubing for the new LED lights (which I am really happy with). The hanger isn't perfect but looks already and should be good enough.

Large Image Link (156 kB)

2012-07-15_18-23-17_823.jpg
 
tank looks awesome!! one of a kind and origional..lmk if you would like to wrap the bottom trim in alm also.. if you want to hide those wires we can re-fab the hanger to have them snaked/tucked through light hanger
 
Last edited:
Wow.... I am impressed!!!!!! Doesn't look nothing like when I had it......really nice job man.... I love the top rim..... It looks so 2013 lol
 
tank looks awesome!! one of a kind and origional..lmk if you would like to wrap the bottom trim in alm also.. if you want to hide those wires we can re-fab the hanger to have them snaked/tucked through light hanger

Thanks guys. Yea both ideas sound great. I need to take a break for a bit though as I am pretty "projected" out. Plus for the next couple of weeks, work is super busy. Thanks again for all your help!!!
 
12/9/12 update

Tanks been going for a bit now. Not much added other than a blueberry acro, but here are a couple updated pics. Everything seems to be working pretty well. Wish I would have went with a bit "heaver" sand in the main display as my eyelash blenny loves to stir the sand up and it gets everywhere. Need to get some more macros for the refugium.

On a side note, I have had the LEDs up and running for a bit and can say everything is still living, the Digi and acro are growing great, Zoes and ricordia seem to be growing ok, Mushrooms are probably growing the least.

Pics are not the greatest as they are from my phone and I still haven't got everything right with the camera and LEDs.

Large Image Link (158 kB)

Large Image Link (166 kB)

Large Image Link (178 kB)

Large Image Link (172 kB)

Large Image Link (209 kB)
 
Back
Top