So I have been without a tank for ten plus years. I spent the whole time imagining my next build, lurking the forums, and keeping up with the latest technology in reefing.
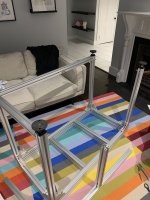
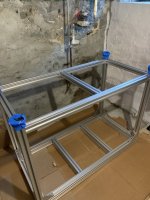
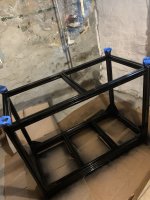
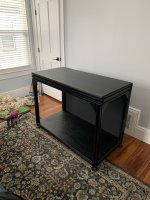
I decided it was time to pull the trigger. I started slowly buying things when they went on sale. I also settled on a 120gal starfire tank. I also was planning a steel stand, powder coated. That I would skin later. I am still undecided on canopy or no canopy, however I know I am going T5 with some led supplementation for pop. This thread will be a bit back dated as I currently have the tank up and cycling. Plans are for it to be a SPS heavy mixed reef. Some zoa’s, some nice LPS etc.
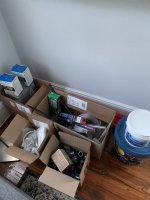
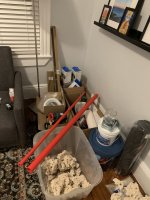
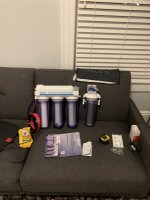
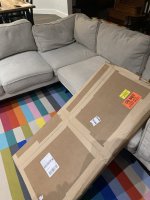
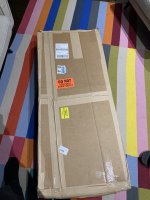
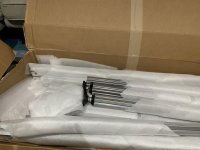
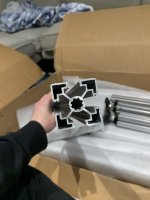
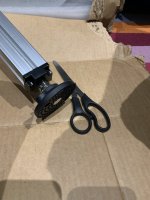
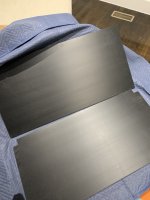
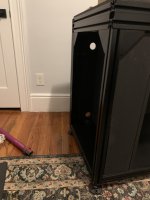
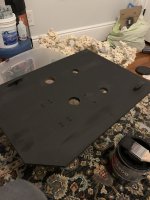
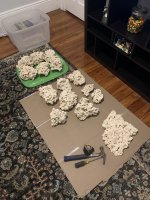
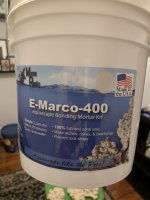
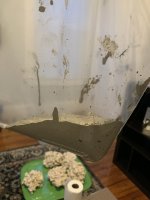
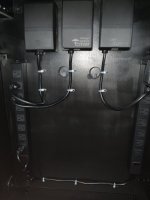
Some pics for those of you that hate reading!!
I decided it was time to pull the trigger. I started slowly buying things when they went on sale. I also settled on a 120gal starfire tank. I also was planning a steel stand, powder coated. That I would skin later. I am still undecided on canopy or no canopy, however I know I am going T5 with some led supplementation for pop. This thread will be a bit back dated as I currently have the tank up and cycling. Plans are for it to be a SPS heavy mixed reef. Some zoa’s, some nice LPS etc.
Some pics for those of you that hate reading!!