3000sf Reef Project

jbundas

Non-member
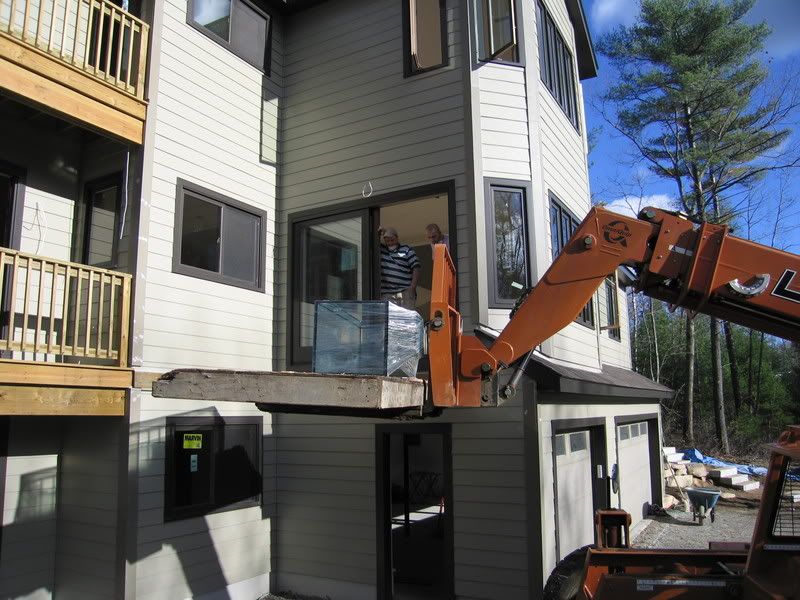
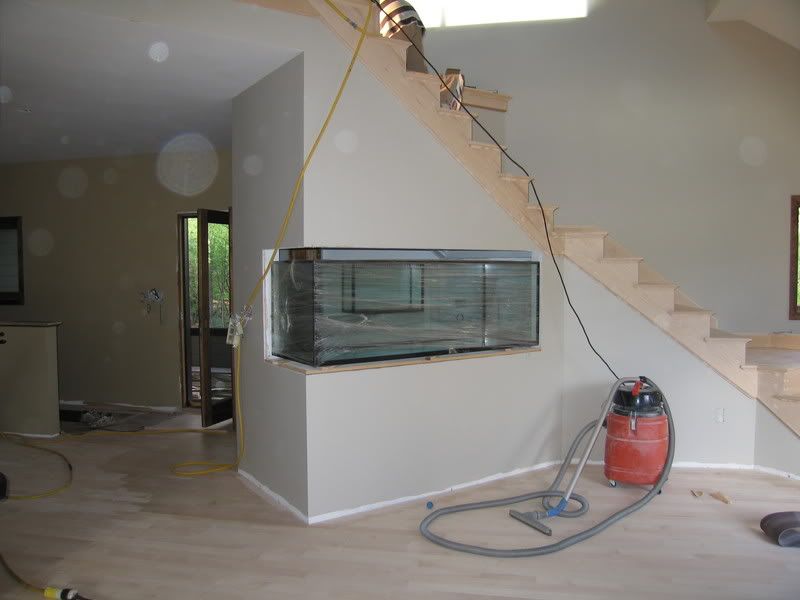
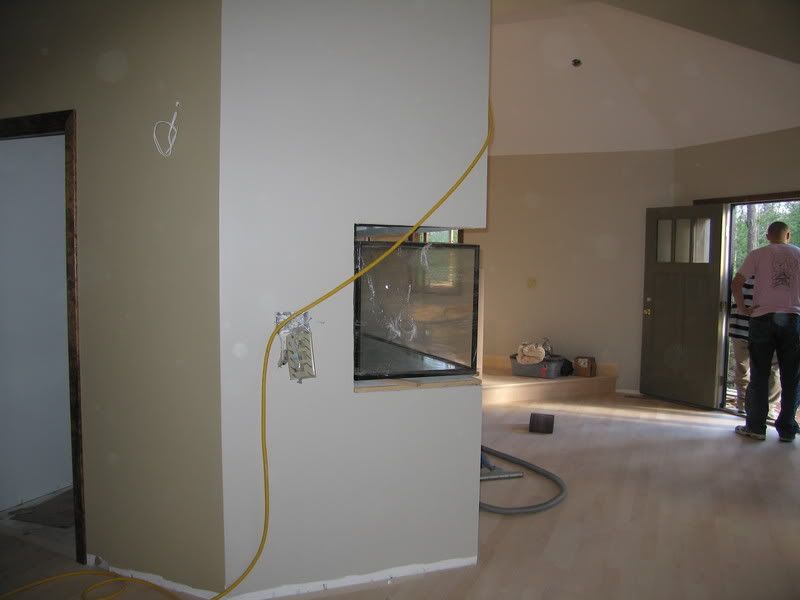
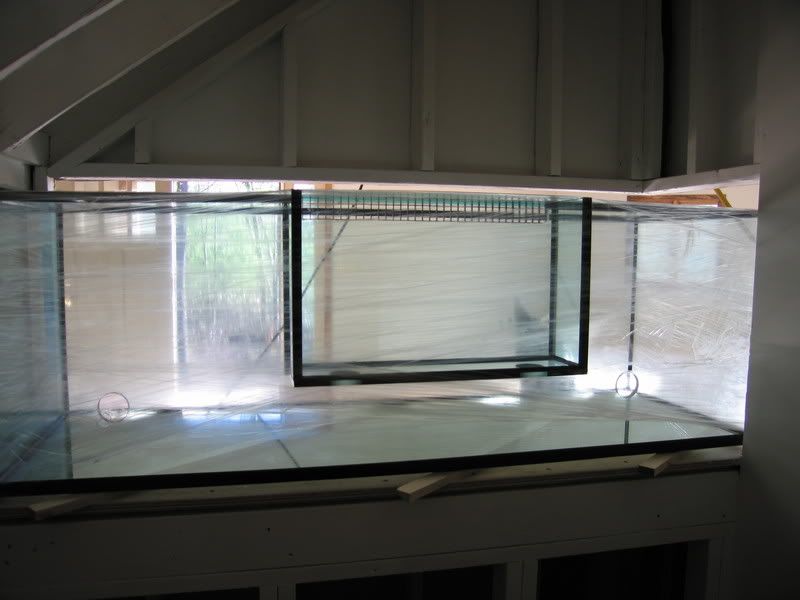
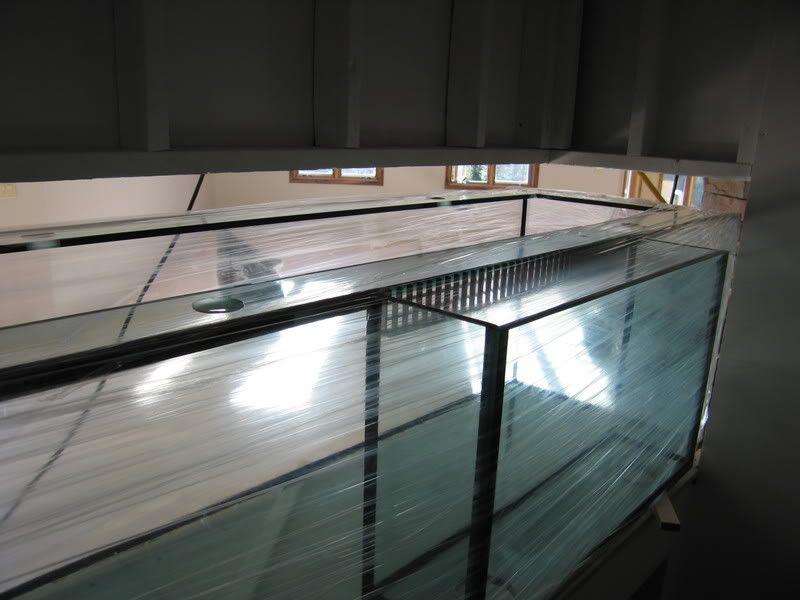
I've been out of the loop for some time now on account of various good reasons, not the least of which has been building a new house that has more or less been designed around a reef system with a built-in 180G display. We're just about there and I finally have some free time to throw up some pics, info, and stories.

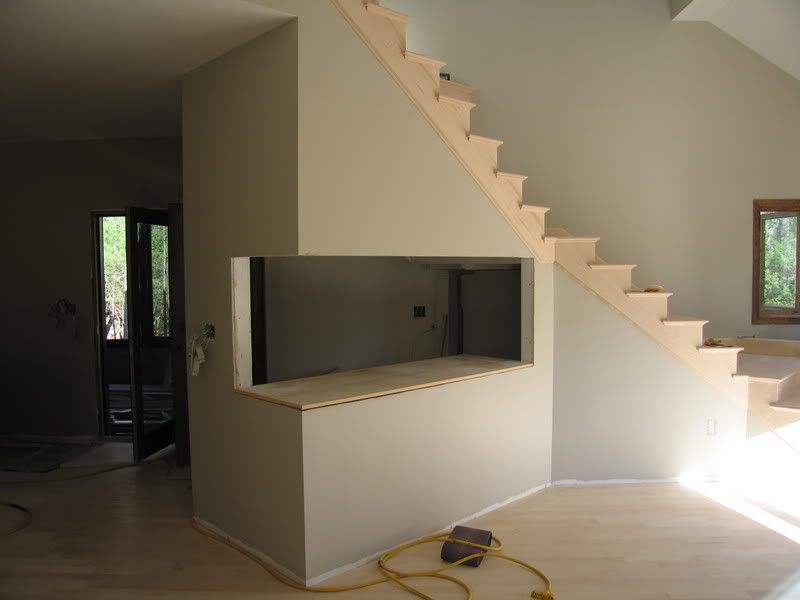
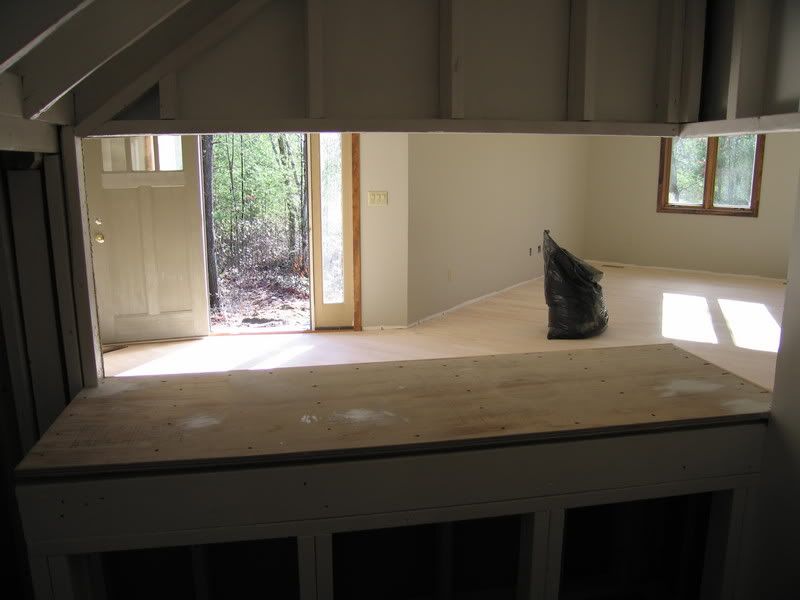
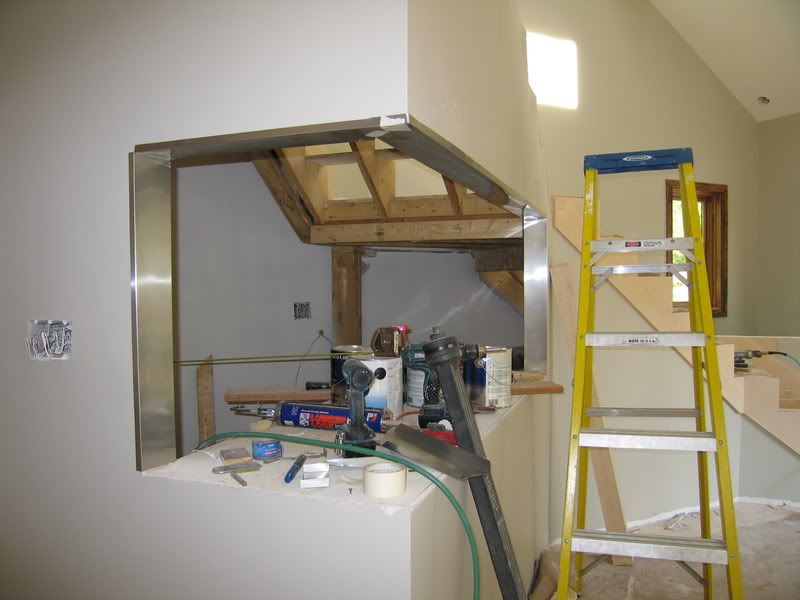
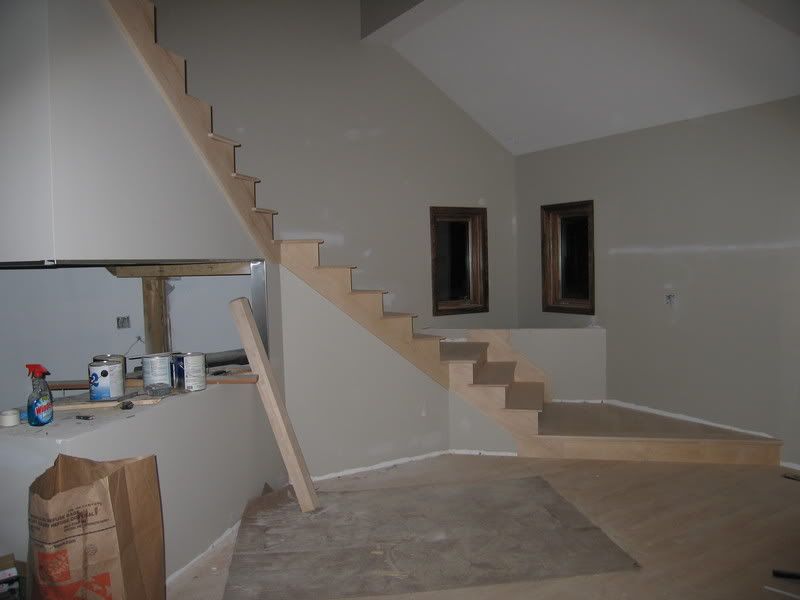
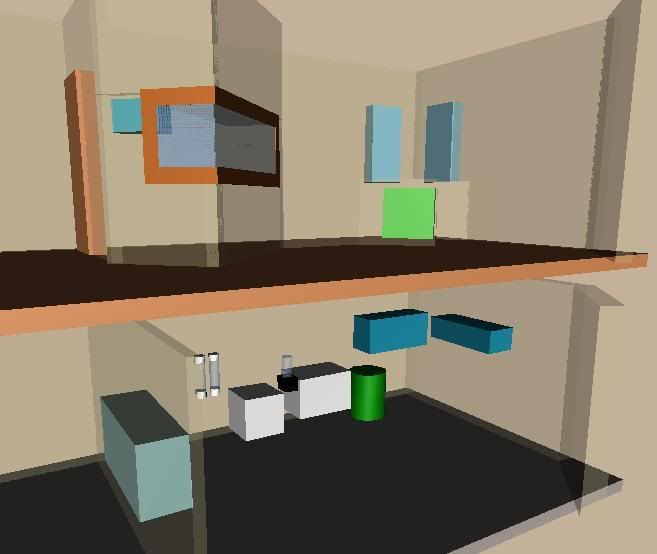
The general goal was to have a fully built-in display with "walk-in" access for direct tank maintenance and a separate fish room in the basement for the sump, fuge, frags, major maintenance, etc. The days of crawling under my 75G stand to service return pumps and such are almost over, and I won't miss them one bit.

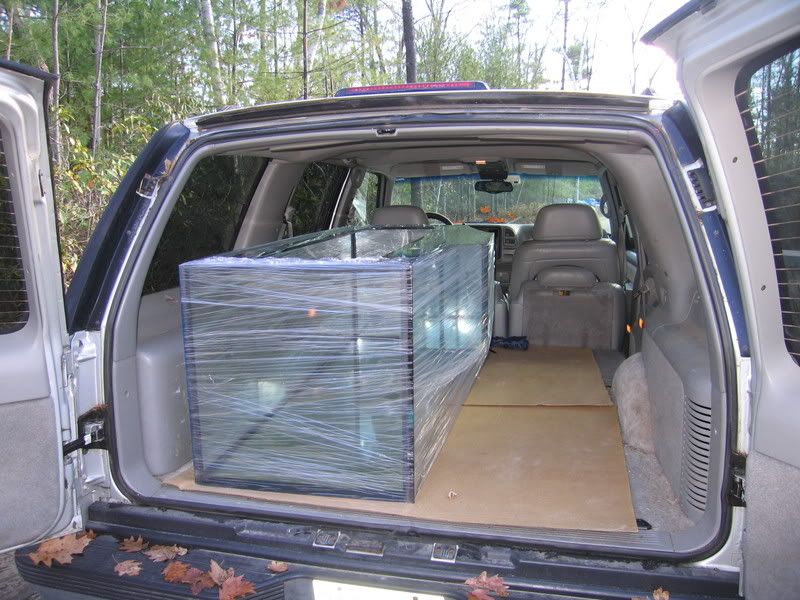
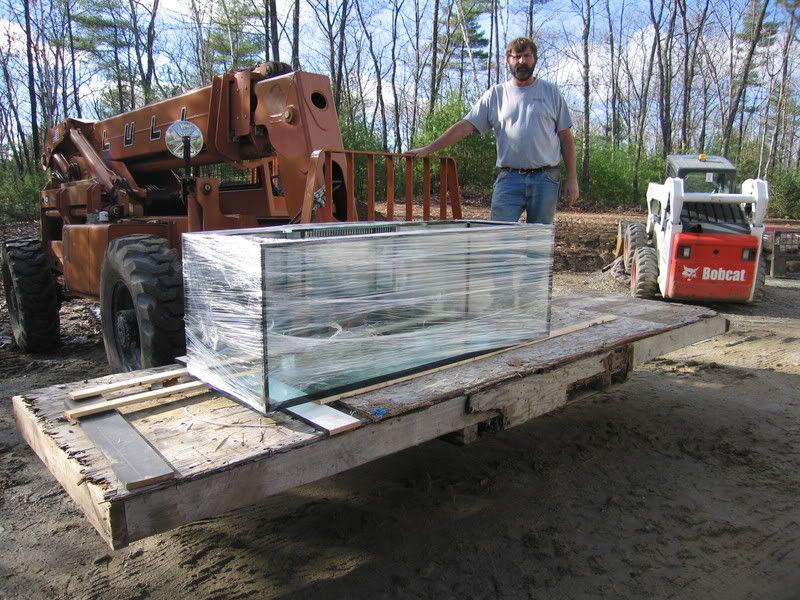
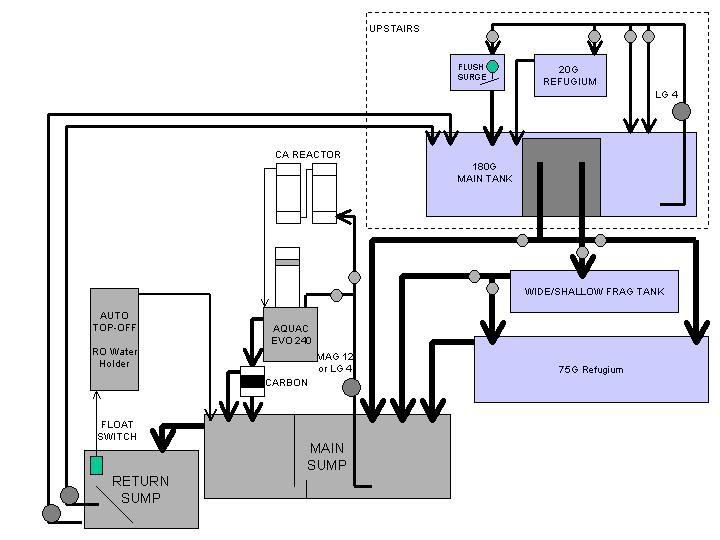
Here comes the goods. While I've done a fair amount of planning, I'm still figuring out most of the details as I go so I welcome any comments and/or suggestions.
 
Here's the hole in the wall:
IMG_1807.jpg

It's set up so you can see into the front as well as the left side of tank. Ultimately, wood trim will run around the entire opening framing it in like a picture. I'd like to have the top strip along the front be removable or hinged to allow limited access for moving things around or fixing tipped corals.
 
Here's a shot from the inside of the fish closet:
IMG_1806.jpg

The door to behind the scenes is around the corner to the left in the previous picture. The stand is built right into the frame of the wall. It's overkill on the structure but that's better than the alternative. The floor joists were doubled up under the tank as well just to make sure nothing going to sag under the weight. The top deck of the stand is two pieces of thick plywood all screwed down. I'm planning on putting down a layer of thin foam to ease any high spots since the tank is frameless.
 
And here's the tank where had been sitting and waiting for a few weeks:
IMG_1805.jpg

I had the guys at AquariumObsessed build this thing. It was a bit pricey but they were great to work with and did an awesome job. The tank looks great.

I decided to avoid delivery so Erik and I did the bonzai road trip to Barre Canada which is about a hour north of Toronto. That's another story in and of itself, but we made it there and back in about 32 hours. It would have been less if it wasn't for the 2.5 hour customs line coming back to the states and our personal greeting from NY's finest somewhere in the vicinity of Utica. But whatever, we made it.

It's hard to tell from the pic since it's all wrapped up, but it's a standard 180G shape with an external overflow on the back, 2 holes in the back wall for closed loop circulation, and perimeter (euro) bracing around the top with half a dozen or so holes in it for return nozzles. The front and left side viewing panes are low iron glass which you can really see the difference since they're 1/2 inch thick. That was one of my main reasons for going custom.
 
Moving the tank around is a bit dicey, especially since it needs to go up a floor before it going into the house. Here it is loaded on the tool:
IMG_1812.jpg

That's Lenny, one half of our father-son building team, standing next to the tank which is sitting on Lenny's lull. These guys have been great to work with especially for things like helping get this tank in.
 
And this is what I meant about up a floor before going in:
IMG_1813.jpg

The only other door that may have been big enough to fit it through it the main entrance which didn't have steps yet. The house is built into a slope so there's a drive-under basement below the main floor. Up and through the 8' dining room sliding door was pretty much the only way to go. Fortunately the hardwood floor guys were there to lend a hand. The tank was actually lighter than I had expected. It went pretty easy with 4 guys carrying it across the room. No pictures of that since I was one of those guys.
 
But here it is temporarily sitting on the stand:
IMG_1815.jpg

IMG_1814.jpg

The fish closet isn't quite done and I still need to put the foam down on the stand before finally setting it in place. The flooring guys still had finishing to do and the lull was leaving the site so the tank had to go in but there was no other place to put it down.
 
Here are some shots from inside the closet:
IMG_1816.jpg

IMG_1817.jpg

Provided the floors are dry, this weekend I'm planning on pulling the tank back out and finishing the odds and ends in the fish closet.
 
The whole closet is getting a coat of exterior white paint and I bent pieces of aluminum flashing to cap the edges of the opening on the sides and the top. They're installed in this older picture but I took them out to do the painting:
IMG_1723.jpg

Does that totally say high school cafeteria or is it just me. It'll all be covered with wood trim on the outside anyway, I just wanted to protect the wood and drywall especially on the top where I plan to be reaching through from time to time. The stand made a great work bench before the tank took it over as you can see.
 
Another "feature" of the system will be an open top refugium that we've been calling the tidepool. My thought is to make a tub in the triangle section behind the half-wall at the bottom of the stairs:
IMG_1729.jpg

Some of the overflow water from the 180 can be fed to it through a pipe running below the stairs. I'm thinking about putting some salt water plans like mangrove type stuff in there and some fun critters like starfish and such - kind of reminiscent of the touch-me pools at aquarium museums. There's an electrical box wired in the ceiling above it (not cut out yet in the picture) with the other end running into the tank closet so I can wire up more less whatever I'd like such as a small MH pendant. I haven't even begun to work out the details on this one though. It's way down on the list at the moment and probably won't become a reality for at least 6 months.

Any ideas on this type of thing, throw them up.
 
The rest doesn't yet exist but this is the latest schematic:
tank_plan_02a.jpg

Everything that's not "UPSTAIRS" is directly below in the basement. The tidepool fuge isn't on here either but it would be plumbed just like the frag and fuge tanks but at the top of the cascade. No recirculating pumps in the basement was a goal so the frag tank and main fuge will both be fed from the falling overflow water from the 180. Ball valves everywhere so I can shut down the frag and fuge tanks and direct water straight to the sump.....especially since that the way it will be initially running for a while.

I also want to split the sump so the water level will stay constant in the container that the skimmer is being fed from. That should keep it running consistently. The return sump is where the evaporation level change will show up. If it gets too low and I run out of top-off, I'll see the bubbles in the main tank and actually notice the issue without having to go down to the basement.
 
All I can say is "WOW!"

The only comment I would make about your refugium would be to somehow make it so that pods could get gravity fed to your display, rather than through a pump......

EDIT: yeah, then you posted the diagram that made this post extraneous :D
 
Here's the most recent CAD rendering of the whole thing:
tank_design_01.jpg

GMAX is the greatest piece of free software ever. I modeled the whole house with it, walked through it, and changed things around before we even sat down with the architect. It's useful to figure out how to fit and line things up so the plumbing will make sense.
 
Thanks for the replies so far. Yeah, the big fuge in the basement will be the 75G tank my reef is in right now - no room for that upstairs so it'll mainly be for macro algae. I may try to plumb it such that the output of the 75G fuge bypasses the skimmer uptake in the main sump and feeds right to the return sump to avoid skimming out any goodies. I have the 20G pod fuge up high in the tank closet that will be plumbed into the closed loop and gravity feed back into the 180G display. It's a mainly SPS system so I'd like to get as much live micro-food blowing through as possible.
 
Main return pump suggestions?

One of the pieces of hardware I'll need to pick up is a new return pump. I'm going to be looking at about 14 feet of head but it should pretty much be a straight shot. I like the idea of having 2 smaller pumps instead of one large one so when one locks up (which they all eventually do) I can keep things running while cleaning it out or worst case replacing it. Anyone have recommendations for high head pumps they've had good luck with?
 
Back
Top