Cheap in tank DIY refugium...

afboundguy

Acan's are inedible candy
Staff Member
Moderator
BRS Member
So a few people have asked for pics of my in tank DIY refugium so I figured I'd just start a thread so everybody can see it. I decided to make this to try to battle 10-20 ppm nitrates. Shortly after putting this in my tank the nitrates were undetectable and have stayed that way ever since. The whole project cost me under $10 (I had extra PH) and all I needed was a drill and a drill bit...

You can do this with any spec container (I used the large one) I did one for my dad's tank to help with his nitrates but used a medium one because of room considerations...

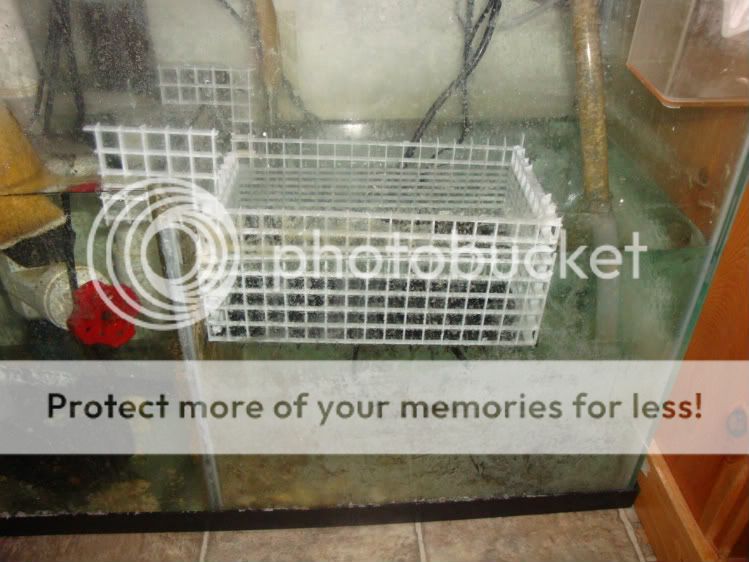
This is a front pic (sorry about the pics I took them with lights off and no stand)
All the yellow circles show all the holes I drilled in the front of the container. I also drilled them on the two sides...
rsz_HPIM1554.jpg
 
I drilled a bigger hole for the powerhead to stick in (I used a maxi-jet 400 then 600 now it serves as the "bubble eliminator" for the bak pak because I wanted to eliminate some of the stuff hanging on the back of the tank) You can also see the holes I drilled in the side...
rsz_HPIM1557.jpg
 
Next is kind of a crappy pic but if you look hard I drilled 2 holes on the lower back part that touches the tank and added some extra suctions cups from left over maxi-jets... They did stick to the back of the tank but now they don't:rolleyes:

rsz_HPIM1558.jpg
 
I also cut out a section of the top just in case all of the holes I cut in the sides clogged up there would be a place for the water to go instead of on the floor :eek:

You can also see how I have the outlet to the bak pak feeding right into the fuge for flow...

rsz_HPIM1559.jpg
 
And lastly it just hangs on the back of the tank... I did have to modify the black top of the tank a little to make it fit with my lights but that was just a simple cutting of the black rimmed part that sticks out about 1/4" while keeping structural integrity...

rsz_HPIM1564.jpg
 
sweet dave i made one yesterday but went the eggcrate way and put it in the sump

feb1001.jpg


looks like im deep frying cheato..... once i go get some

nice diy thread
 
Again this is a simple cheap way to try to help with nutrient export. It took me maybe 30 mins to actually make the fuge and maybe 30 mins because of the space issue I had with my lights. This is an awesome project for people without a sump that want all the benefits of a refugium... If anyone has any questions post away and I'll try to answer them...
 
sweet dave i made one yesterday but went the eggcrate way and put it in the sump

Looks good Bijan... I like mine because as you can tell from the pics it gets encrusted with coraline and it blends in kind of nice...

Very cool Dave. A lot of people have been waiting for this.

Thanks... I've been meaning to take pics and start a thread but I just never got around to it...
 
Thanks Dave. I am currently setting up a 36gal. corner tank, so space is definitely an issue. This really helps out a lot, Thank you. :)
 
Dave, this just sits in your main tank? What size tank is it in? Cool idea!
 
I definitely want to make one. I just gotta get a spec container. Thanks for the instructions Dave.
 
Thanks Dave. I am currently setting up a 36gal. corner tank, so space is definitely an issue. This really helps out a lot, Thank you. :)

I definitely want to make one. I just gotta get a spec container. Thanks for the instructions Dave.

No problem guys... Sorry it took so long :eek:

Dave, this just sits in your main tank? What size tank is it in? Cool idea!

Yeah it just hangs off the back side of the tank. I have a 55 gallon tank.

One thing I forgot to mention is you have to make sure it gets light inside so the macro algae grows. I used to get insane growth from it when it wasn't covered in coraline algae (daylight bulbs are in the middle) but I still get growth with the ATI Blue + bulb sitting right over it...
 
Back
Top