140 gallon 4 sided starphire rimless build thread

BaconReefer

Non-member
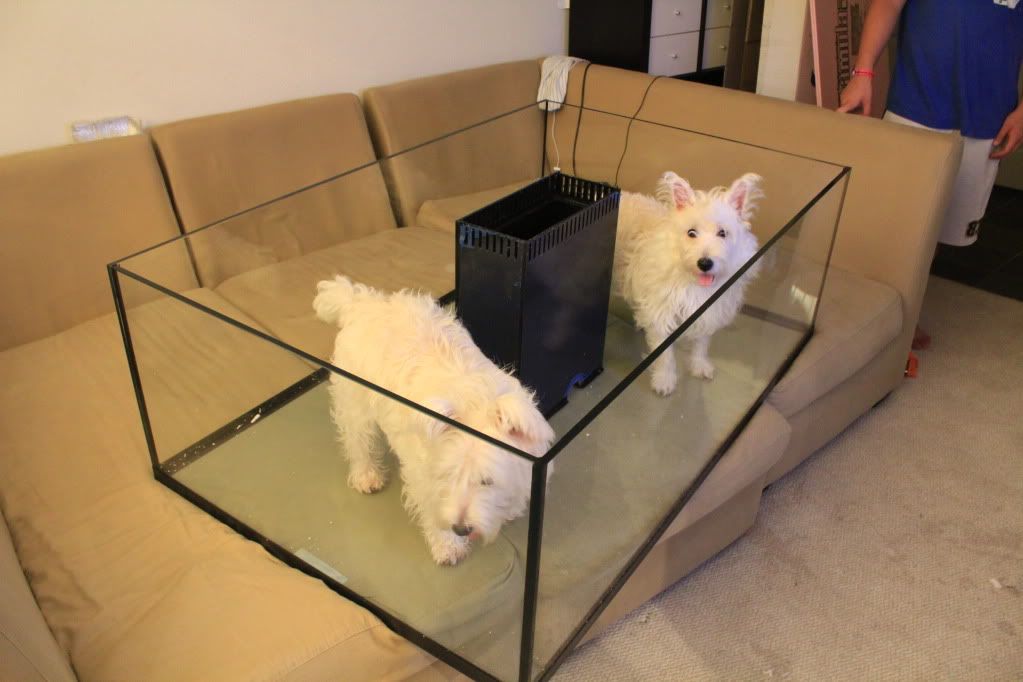
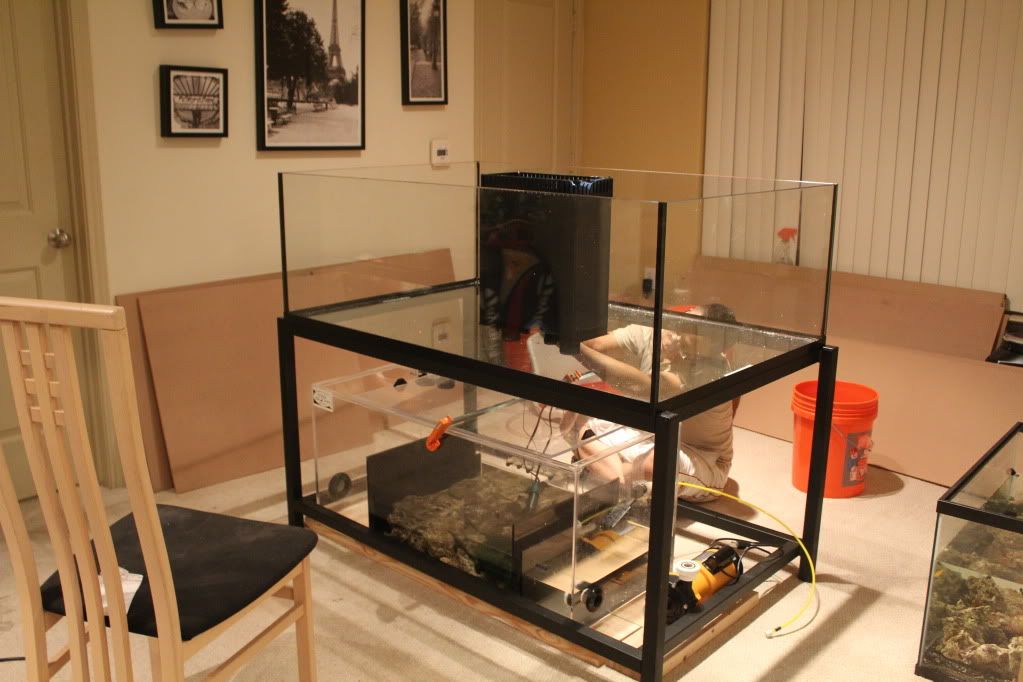
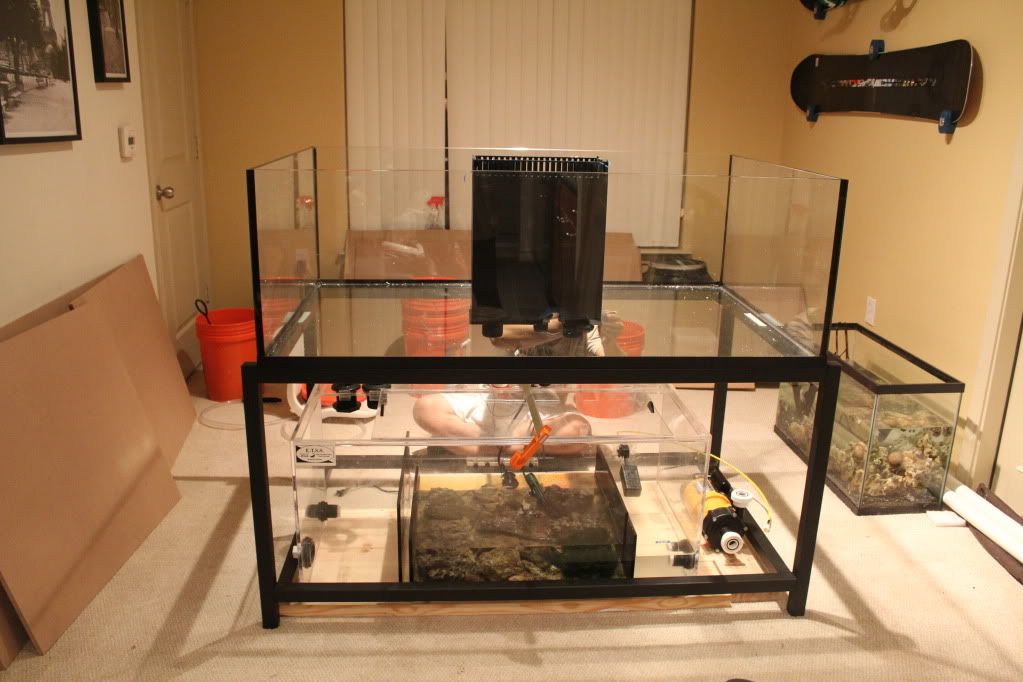
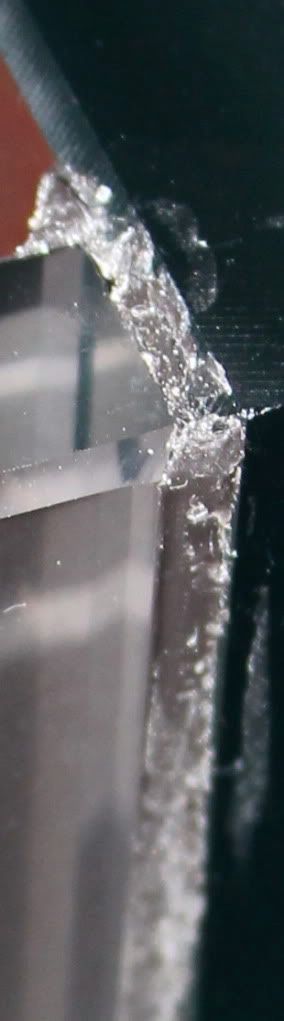
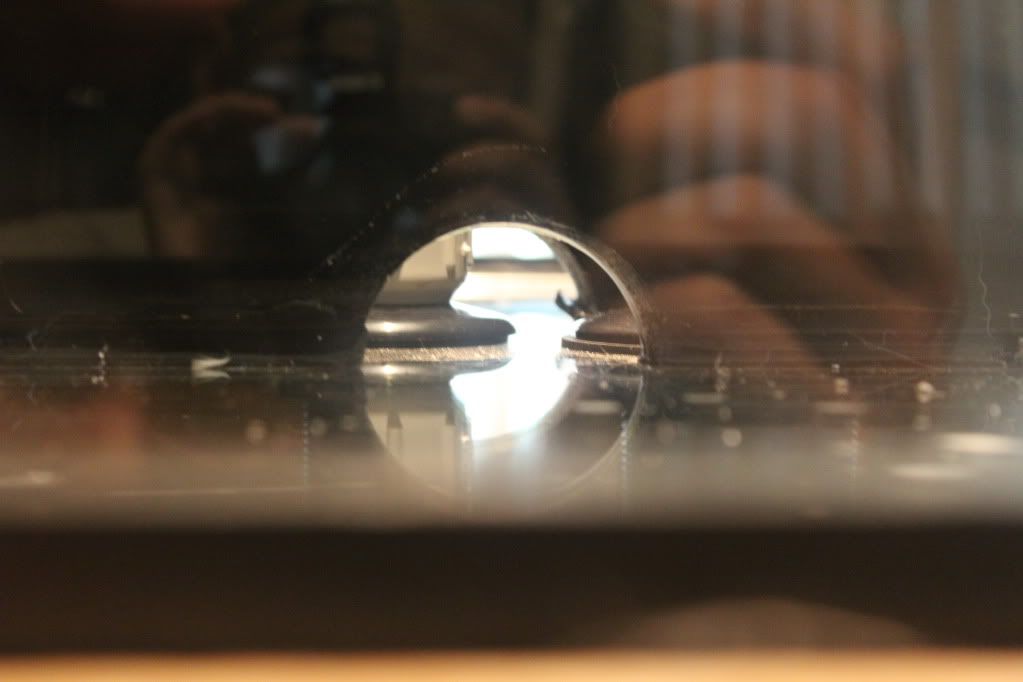
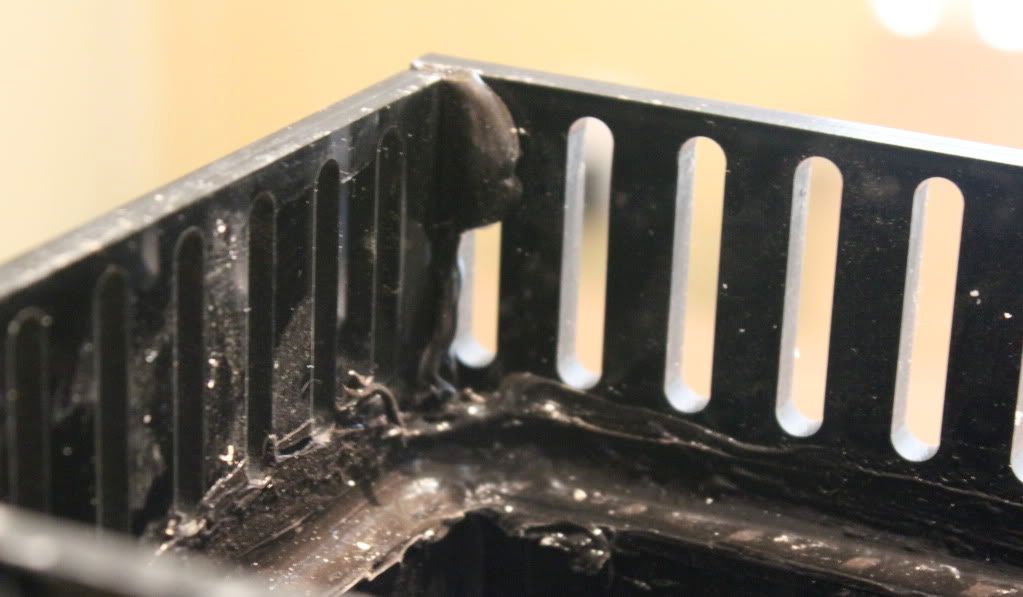
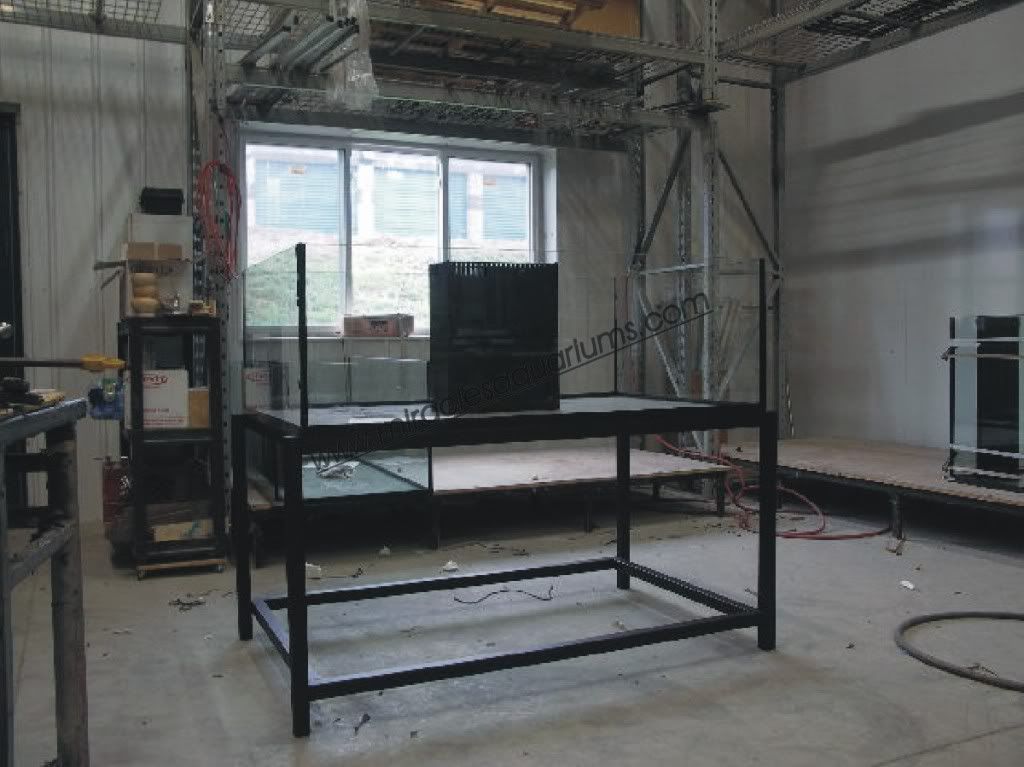
After getting ready for this build to start I have made a lot of purchases from a lot of members here at BFS. Everyone I met was awesome I got great deals and of course lots of free advice. I'm not even prepared for this at all, below is a list of what I have so far so any advice from how to hang my light to testing this bad boy for leaks,plumbing also and when to replace the cycle water for the tank and what not. Buddie told me to open the crate at the deliver depot to make sure there are now flaws with it. The tank was made at Miracles in Canada also Derek was a big help. I will be picking this up tomorrow!!!!!

60 gallon sump with live rock and cheato and lights. Thanks Don from Mass

48" giesmann light 2x250 with 2 t5's Thanks Nickoz

Asm protein skimmer G2 Brand new

Kent rodl, Pair of Picaso Clowns Grade A and lots of clams and SPS also a great second tank Thanks Yukyuklee

140 lbs of live rock mostly new

100 pounds of grey coast substrate seachem. Thanks Doherty

Vortech mp40es new

2xTunze 6100 with 7205 controller Thanks Buddie

wrimlessw4sidedoverflow.jpg


viewer.png
 
Last edited:
you should switch this to a 'blog' to track the build. If my tank ever gets here, I may do the same as you. That 140 is a sweet, sweet tank....
 
So after waiting a few weeks, I finally got my tank. It was tough carrying it in. It weighed about 350 pounds and took 5 people to carry. The tank looks good but there are some problems with the silicone. It looks crappy compared to my Solona so being that the tank was made my Miracles should I call and voice my opinion?

IMG_0881.jpg


IMG_0899.jpg


IMG_0901.jpg
 
maybe you could post some close-up pics of the silicone, and get some opinions of the quality, because Miracles is very well regarded here
 
Looks great. Can't wait to see it full. Also some close ups of the problems you are having would be nice.
 
IMG_0881.jpg


I'm gonna have to call the "cute white dog" police......I don't believe they have near enough swimming room as they would in the wild!!! Not only that, but just think of the detritus buildup!!!! Great looking tank though!!!
 
if there's excess silicone that's not needed it can be cleaned up with a razor blade... i'd like to see close-ups of the seams too if you can get a few pictures..

Great looking tank though, good luck with it.
 
Ok so here are some pictures of the silicone job, please remember I'm new to all of this. But my Solona edges are near perfect, this I paid 800 dollars more to go with them instead of glass cages because I heard glass cages did crappy edging. If you guys say this is expectable for paying 800 dollars more and I'm just being anal about all of this then I would hate to see what glass cages edging would look like.

IMG_0943.jpg


IMG_0957.jpg


IMG_0938-1.jpg


IMG_0927.jpg
 
I would call that less than acceptable if it were me. Nice beveled edges on the glass, but a sloppy job on the silicone.
 
I've never seen Miracle's work, but that looks kinda gross to me. Great pictures BTW. What camera did you use? :D
 
The biggest mistake they made was that I asked for them to cut a slot between the glass overflow and the acrylic so I could run my wires between. For some reason the guy Derek told me to talk to he cut straight thew the acrylic cover as well as the glass overflow thus making my overflow useless now. I could barely sleep last night feeling like I spend almost 2 grand on a tank that I could have gotten for pretty much half the price.

IMG_0991.jpg


IMG_0988.jpg


IMG_0989.jpg
 
That overflow looks pretty gross too haha. Sorry i couldnt resist. I'm not sure what you mean by the hole... Is there any way you can just patch it back up?
 
That overflow looks pretty gross too haha. Sorry i couldnt resist. I'm not sure what you mean by the hole... Is there any way you can just patch it back up?

yeah this is just crazy I'm kind of relieved that you guys agree this is a S#$% finish job. I didn't want them to cut a hole right threw the overflow, so now if I just want to do a leak test with say 10 gallons of water I have to plug up the bulkheads. So basically the overflow has no funtion because any critter and water can come from the bottom of it. If I could patch it back up I wouldn't know how to and I'm pretty upset that I would have to spend time doing it.
 
What was going to the purpose of having a hole cut into the overflow? I'm not understanding why it was cut that way or why you would want a hole in the bottom of an overflow?:confused:
 
Back
Top