Hey fellow reefers!
It’s been forever since I posted, but I’ve still been around and lurking. I still need to make it to a meeting one of these days so I can meet some of you! I love talking about my tank – but none of my friends like listening haha.
Having successfully kept my 29g sumpless reef going for the last 4 years, it’s time to treat myself to an upgrade") ! I’m in the planning stages right now but I wanted to share my ideas with you all. I’m trying to make this tank super quiet and ultra-automated. I want to do as little as possible maintaining the tank so a lot of up-front cost is going into this thing. Here goes:
! I’m in the planning stages right now but I wanted to share my ideas with you all. I’m trying to make this tank super quiet and ultra-automated. I want to do as little as possible maintaining the tank so a lot of up-front cost is going into this thing. Here goes:
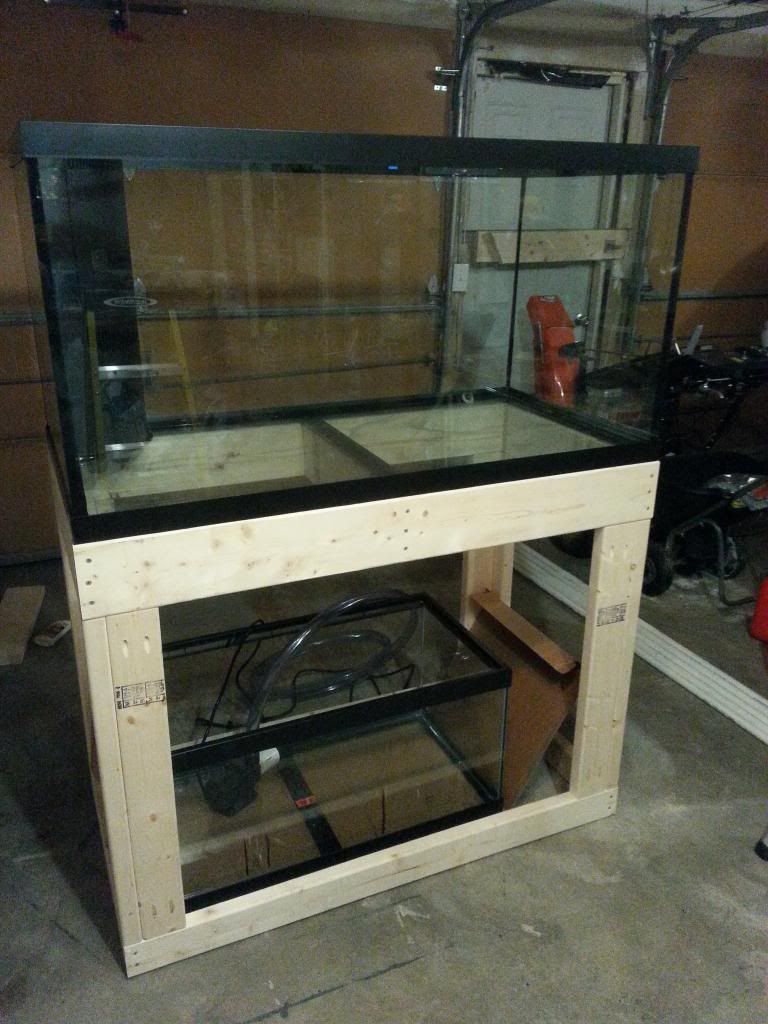
120 gallon RR tank
Looking at the Perfecto/Marineland tank since it has the ONE corner overflow on the left side which is perfect for the location of where I want to put this thing. It’s going to be viewed from the front and right side, so it really is perfect.
One overflow is plenty since I’m going to be running a Herbie/BeanAnimal drain setup. It’s really just a BeanAnimal without the 3rd emergency drain. I know, I know – it’s there for a reason, but I’m lazy and don’t want to have to tweak the traditional Herbie sytle…like ever. So I’m just going to have the second line trickle for self-tuning. Because I am paranoid about a flood though, I will be adding a float switch into the DT that will have my Apex kill my return pump if necessary.
I also don’t want to drill the tank since I want it nearly flush to the wall and I’d rather just get something pre-done already.
Custom 40B Sump
I grabbed a 29g tank at the last Petco sale because I was originally thinking of doing a 75g display tank. I’ve since upped that to the 120, so now I need/want a 40B at the next Petco sale or until I get too impatient!
I’m going to get 3 pieces of glass cut: Single piece of glass for a fuge on the right side and 2 pieces of glass for the skimmer section on the left side. Return is in the middle. I’ve researched back and forth on 2 vs 3 pieces of glass for the skimmer section bubble trap and it seems that 2 works just fine. I plan on making the skimmer and fuge sections 9-10 inches tall. If all 3 chambers were running with 10” of water (which would never happen since the return will obviously be less than 10”), I would be able to take an additional 16 gallons if I lose power. 2” of water in my DT should be about 10 gallons, so I should be flood safe. I’ll make a stand and raise the skimmer to whatever height I need. On the fuge side, I’m going to silicone in some eggcrate between the rim of the sump and the top of the baffle. Should help keep the macro algae in the fuge.
Speaking of fuge: I’m going to run LR rubble and algae only – no DSB. I’ve seen too many horror stories and I’d rather not deal with that. I do want to have a nice copepod farm though as I would like a Green Mandarin Dragonet long term.
Return Pump
Currently looking at a Waveline DC-6000 for the return pump. An alternative will be the Eheim 1262, but I really like the extra controllability of the DC pump (and supposedly how quiet it is). I’m going to send the return up and over the back of the tank. I might tee it at the top for two returns, or just have one return – not sure yet.
I am going to tee off the pump to feed the skimmer chamber with a gate valve so I can have just the right flow slowly cascading over the fuge wall. I really want this thing as quiet as possible!
Controller
Just picked up the Full Apex w/Lab grade probe to use on my current tank and then will switch it over to the upgrade. I’ll be adding another EB8, the AquaIlluminations AWM module, Vortech WXM Module and an I/O breakout box. I’m deeply in love with this Apex already – wish I bought it sooner!
Lighting
The plan is to have a mixed tank. I’ve never kept SPS before, so I don’t know how much I will want in the tank vs LPS and softies. I already upgraded my 29g tank to a single AI Hydra unit. The thing is incredible, so I will definitely be getting another Hydra for the 120g. The current 29g will be broken down so I can steal that Hydra. Long term I might get a third unit, but for now it’s just the two.
Powerheads
I’m going to shell out the cash for two Vortech MP40s. I’ve read a lot of good things about the Jebao pumps and Tunze pumps – but the Vortechs are just so clean and I love the controllability especially with the Apex. I’m going to also grab the backup battery for them too since I live in NH and we lose power all the time!
Skimmer
Went back and forth a ton on this topic. At first I was hell bent on the Reef Octopus line, but right now I think I’m going with the RLSS R6i skimmer. Again it has the quiet Waveline DC pumps and everyone seems to love these things. They are a hell of a lot cheaper than the similar Reef Octopus ones too. I’ll be adding the Avast Marine Swabbie and Skimmate locker for more ultimate laziness.
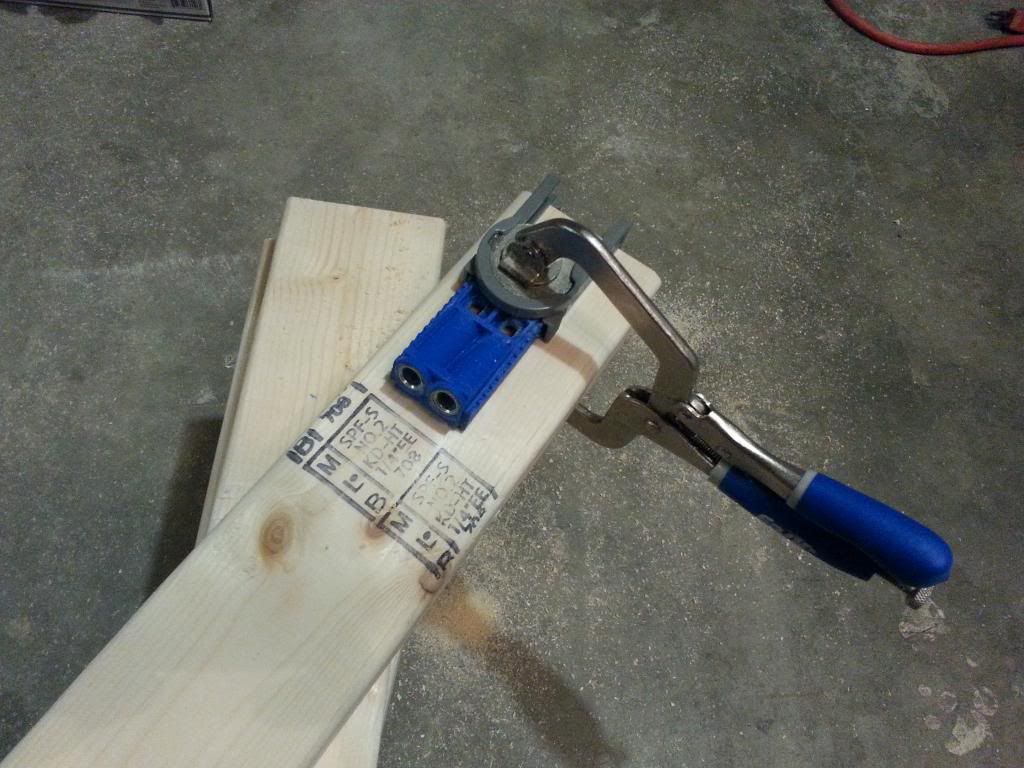
Stand and Canopy
Both of these will be DIY projects. I’m probably going to make the stand at 36” height so that I don’t have to bend over too much (or at all) to view the tank. In theory I should still be able to reach into the tank, though it will probably be pretty tight. Worst case I get a small step stool.
Auto Water Change
This is the thing I am most excited about. Stealing this from jayinnh. Will have a pump in the basement with the PVC running up through the wall and breaking out above the sump line. I’ll have a small MJ900 draining the water through the wall (which conveniently on the other side of the wall is my bathroom). The drain line will punch through the bathroom wall underneath my sink cabinet and tie directly into the drain – won’t even see it! A few float switches and some fancy Apex programming will do my water changes for me. Say goodbye to the 5 gallon buckets and lugging that water around!!!
Misc Stuff
So this is my master plan. I’d love to hear any comments/questions you guys have and thanks for reading!
It’s been forever since I posted, but I’ve still been around and lurking. I still need to make it to a meeting one of these days so I can meet some of you! I love talking about my tank – but none of my friends like listening haha.
Having successfully kept my 29g sumpless reef going for the last 4 years, it’s time to treat myself to an upgrade
! I’m in the planning stages right now but I wanted to share my ideas with you all. I’m trying to make this tank super quiet and ultra-automated. I want to do as little as possible maintaining the tank so a lot of up-front cost is going into this thing. Here goes:120 gallon RR tank
Looking at the Perfecto/Marineland tank since it has the ONE corner overflow on the left side which is perfect for the location of where I want to put this thing. It’s going to be viewed from the front and right side, so it really is perfect.
One overflow is plenty since I’m going to be running a Herbie/BeanAnimal drain setup. It’s really just a BeanAnimal without the 3rd emergency drain. I know, I know – it’s there for a reason, but I’m lazy and don’t want to have to tweak the traditional Herbie sytle…like ever
. So I’m just going to have the second line trickle for self-tuning. Because I am paranoid about a flood though, I will be adding a float switch into the DT that will have my Apex kill my return pump if necessary.I also don’t want to drill the tank since I want it nearly flush to the wall and I’d rather just get something pre-done already.
Custom 40B Sump
I grabbed a 29g tank at the last Petco sale because I was originally thinking of doing a 75g display tank. I’ve since upped that to the 120, so now I need/want a 40B at the next Petco sale or until I get too impatient!
I’m going to get 3 pieces of glass cut: Single piece of glass for a fuge on the right side and 2 pieces of glass for the skimmer section on the left side. Return is in the middle. I’ve researched back and forth on 2 vs 3 pieces of glass for the skimmer section bubble trap and it seems that 2 works just fine. I plan on making the skimmer and fuge sections 9-10 inches tall. If all 3 chambers were running with 10” of water (which would never happen since the return will obviously be less than 10”), I would be able to take an additional 16 gallons if I lose power. 2” of water in my DT should be about 10 gallons, so I should be flood safe. I’ll make a stand and raise the skimmer to whatever height I need. On the fuge side, I’m going to silicone in some eggcrate between the rim of the sump and the top of the baffle. Should help keep the macro algae in the fuge.
Speaking of fuge: I’m going to run LR rubble and algae only – no DSB. I’ve seen too many horror stories and I’d rather not deal with that. I do want to have a nice copepod farm though as I would like a Green Mandarin Dragonet long term.
Return Pump
Currently looking at a Waveline DC-6000 for the return pump. An alternative will be the Eheim 1262, but I really like the extra controllability of the DC pump (and supposedly how quiet it is). I’m going to send the return up and over the back of the tank. I might tee it at the top for two returns, or just have one return – not sure yet.
I am going to tee off the pump to feed the skimmer chamber with a gate valve so I can have just the right flow slowly cascading over the fuge wall. I really want this thing as quiet as possible!
Controller
Just picked up the Full Apex w/Lab grade probe to use on my current tank and then will switch it over to the upgrade. I’ll be adding another EB8, the AquaIlluminations AWM module, Vortech WXM Module and an I/O breakout box. I’m deeply in love with this Apex already – wish I bought it sooner!
Lighting
The plan is to have a mixed tank. I’ve never kept SPS before, so I don’t know how much I will want in the tank vs LPS and softies. I already upgraded my 29g tank to a single AI Hydra unit. The thing is incredible, so I will definitely be getting another Hydra for the 120g. The current 29g will be broken down so I can steal that Hydra. Long term I might get a third unit, but for now it’s just the two.
Powerheads
I’m going to shell out the cash for two Vortech MP40s. I’ve read a lot of good things about the Jebao pumps and Tunze pumps – but the Vortechs are just so clean and I love the controllability especially with the Apex. I’m going to also grab the backup battery for them too since I live in NH and we lose power all the time!
Skimmer
Went back and forth a ton on this topic. At first I was hell bent on the Reef Octopus line, but right now I think I’m going with the RLSS R6i skimmer. Again it has the quiet Waveline DC pumps and everyone seems to love these things. They are a hell of a lot cheaper than the similar Reef Octopus ones too. I’ll be adding the Avast Marine Swabbie and Skimmate locker for more ultimate laziness.
Stand and Canopy
Both of these will be DIY projects. I’m probably going to make the stand at 36” height so that I don’t have to bend over too much (or at all) to view the tank. In theory I should still be able to reach into the tank, though it will probably be pretty tight. Worst case I get a small step stool.
Auto Water Change
This is the thing I am most excited about. Stealing this from jayinnh. Will have a pump in the basement with the PVC running up through the wall and breaking out above the sump line. I’ll have a small MJ900 draining the water through the wall (which conveniently on the other side of the wall is my bathroom). The drain line will punch through the bathroom wall underneath my sink cabinet and tie directly into the drain – won’t even see it! A few float switches and some fancy Apex programming will do my water changes for me. Say goodbye to the 5 gallon buckets and lugging that water around!!!
Misc Stuff
- Will be running two BRS dosers for calc and alk
- Two heaters for redundancy. Both will be in the sump
- ~100 lbs of Marco rocks. Going to aquascape with rods and cement to make this thing sweet (I hope!)
- CaribSea special grade reef sand
- Already have a Tunze Osmolator for my ATO
- Already have a BRS single reactor for carbon and GFO run by a MJ1200
So this is my master plan. I’d love to hear any comments/questions you guys have and thanks for reading!