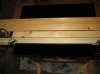
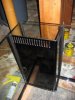
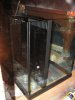
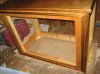
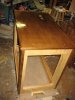
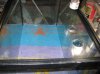
Finally it begins. Nothing much so far, just drilling for a "herbie" but more to come (ever so slowly...)
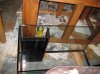
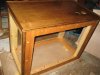
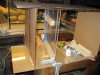
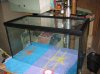
*Note, this tank normally comes with a tempered bottom. Don't try this at home")
*Note, this tank normally comes with a tempered bottom. Don't try this at home
Attachments
Last edited by a moderator: