You are using an out of date browser. It may not display this or other websites correctly.
You should upgrade or use an alternative browser.
You should upgrade or use an alternative browser.
Crib's 210g Build
- Thread starter Crib
- Start date

glug glug glug...
OP
OP
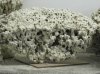
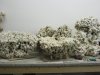
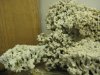
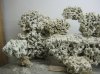
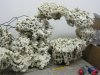
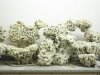
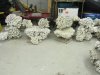
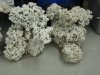
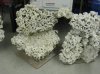
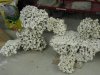
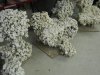
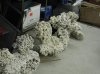
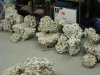
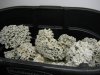
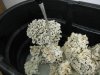
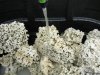
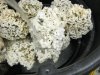
Pegging video
A quick 90 second video on pegging your rock, for future frag and colony placement
http://s215.photobucket.com/albums/cc176/salt_h2o/210g%20build/?action=view¤t=MVI_6466.flv
A quick 90 second video on pegging your rock, for future frag and colony placement
http://s215.photobucket.com/albums/cc176/salt_h2o/210g%20build/?action=view¤t=MVI_6466.flv
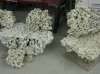
Might be a stupid question, but how did you attach the rods to the acrylic base?
OP
OP
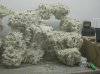
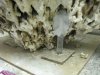
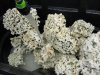
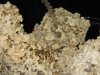
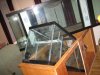
Hi ChrisMight be a stupid question, but how did you attach the rods to the acrylic base?
No stupid question..
I took a 2x2" square piece of acrylic and used Weldon 4 and adhered the 2x2 square to the main base piece. Once adhered together that gave me about a 1/2' of dept, and I drilled almost all the way thru the 1/2" and applied more Weldon when placing the rod in the dept to cure before sliding the drilled rock thru to the base. Hope that helps..
OP
OP
Might be a stupid question, but how did you attach the rods to the acrylic base?
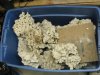
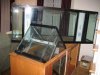
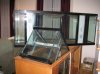
Chris, here is a picture the shows the additional piece of acrylic attached to the base then drill almost through
Attachments
OP
OP
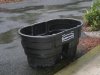
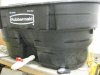
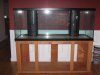
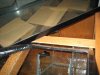
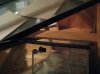
Found out the hard way that the sump did not fit in between the door opening of the tank stand.
When in Rome do as the Romans do. Drop it in.
Had to slide the 210g off to the side and then remove the center piece of wood to drop it in them replaced the brace.
Before and after
Thank You Nate for your help.....
When in Rome do as the Romans do. Drop it in.
Had to slide the 210g off to the side and then remove the center piece of wood to drop it in them replaced the brace.
Before and after
Thank You Nate for your help.....
Attachments
Similar threads
- Replies
- 8
- Views
- 3K
