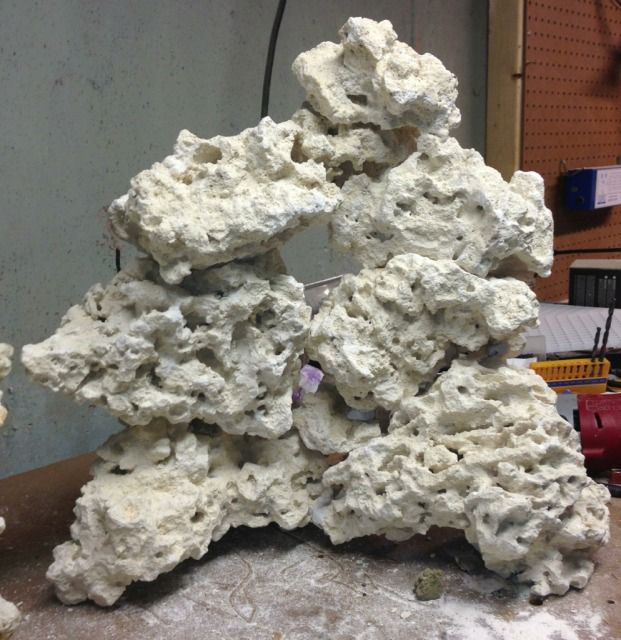
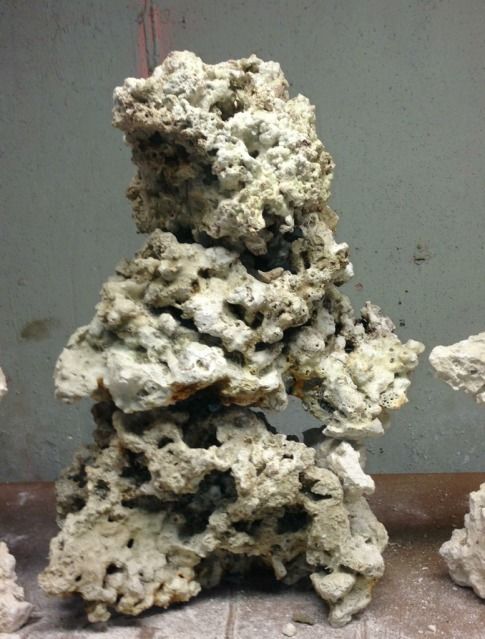
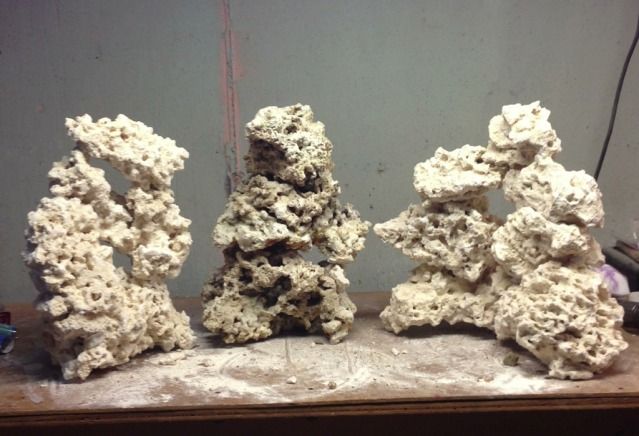
120g Mixed Reef Build

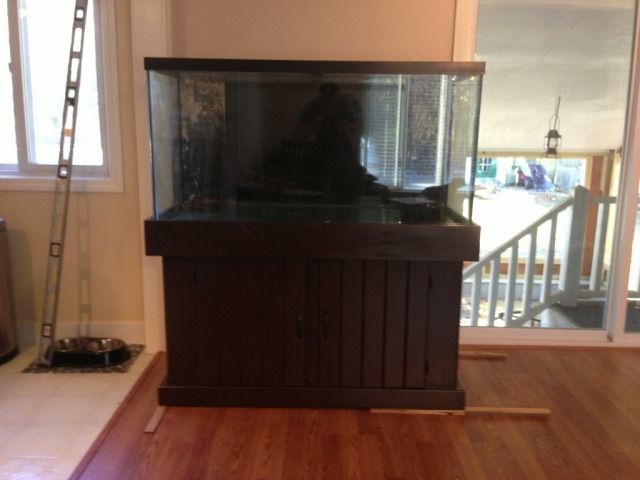
Next step was to get the stand all leveled so that I could put my sump in and get the tank on the stand. In order to get the stand level I had to raise the right right corner just about 3/4 of an inch. I guess the house has really settled over the years as that has been the most I have ever had to level a tank.


Leveling Process:
97F2035C-1D0E-4356-AEB5-7DF3FC2A2D74-22435-0000097E4CDB4552_zps65e024a3.jpg


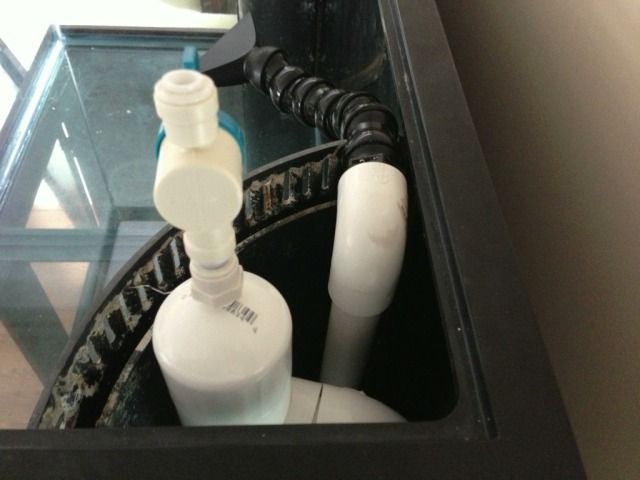
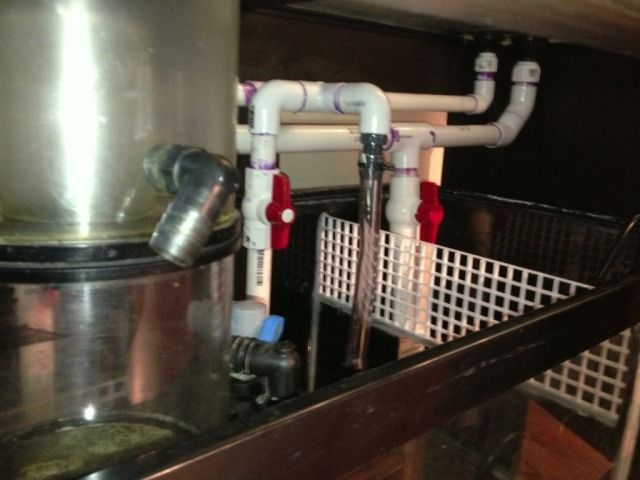
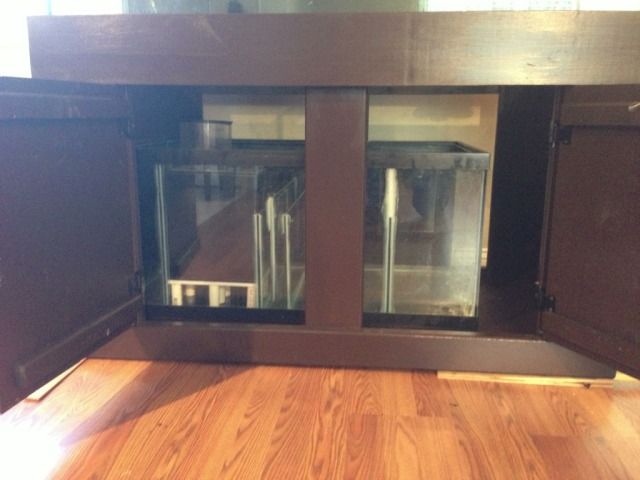
Picture of the sump inside the stand:
857C0160-E6A2-468B-A36D-9FF7EA9061C1-22435-0000097E4607E389_zpsb49d4336.jpg


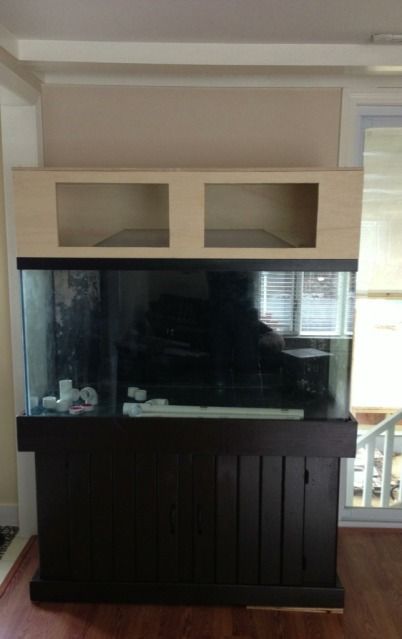
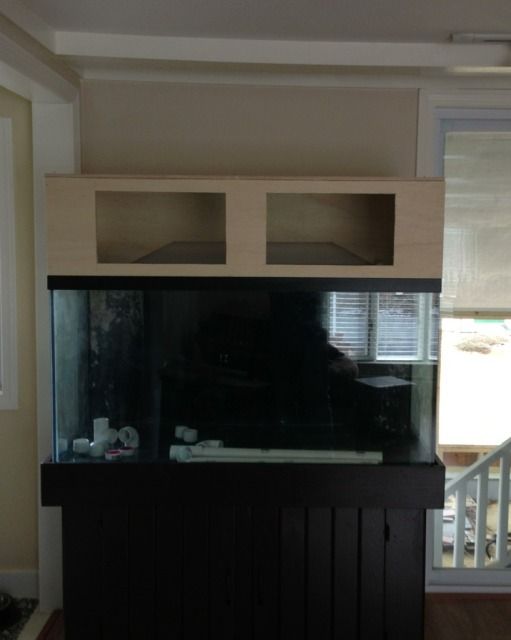
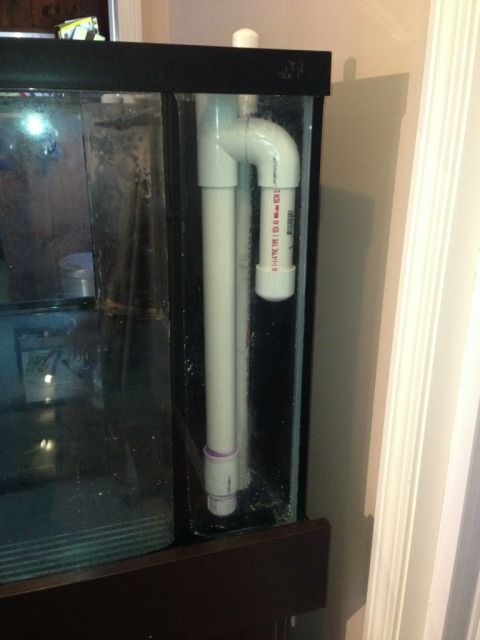
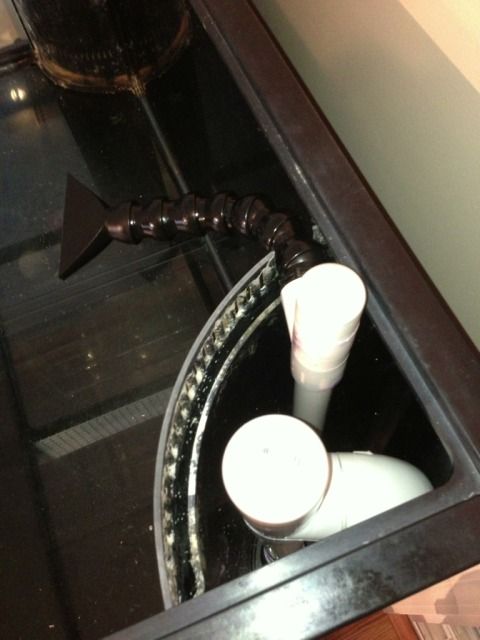
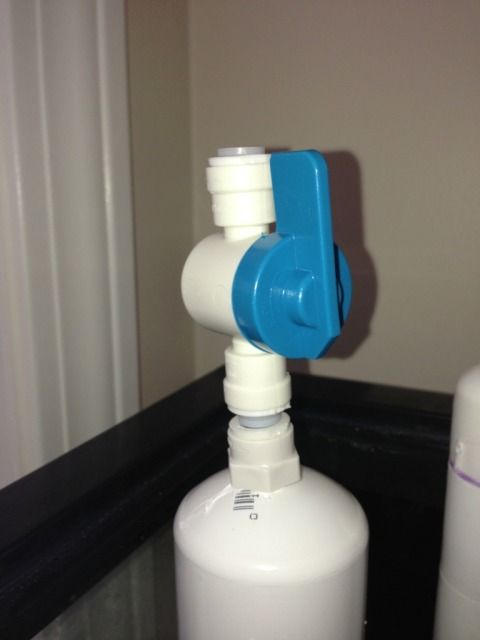
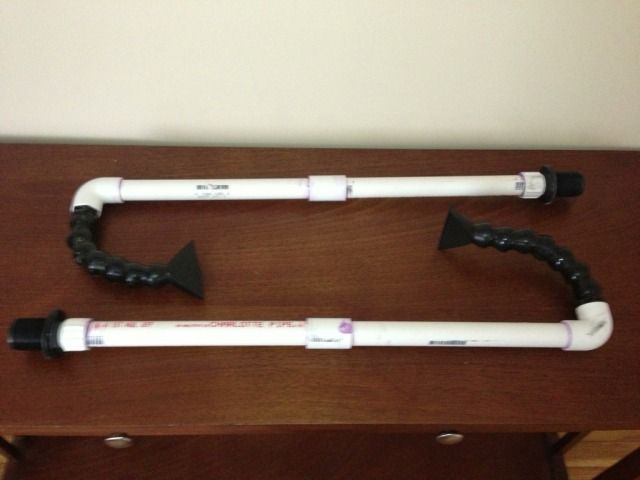
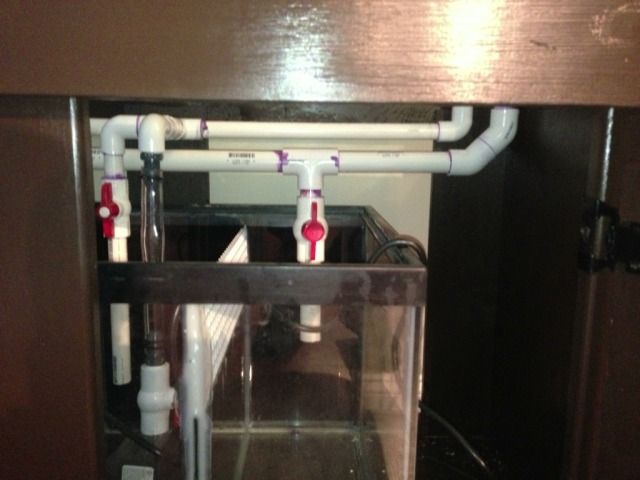
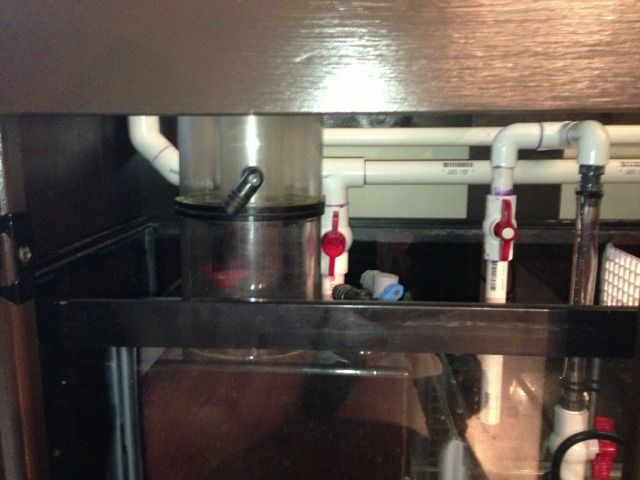
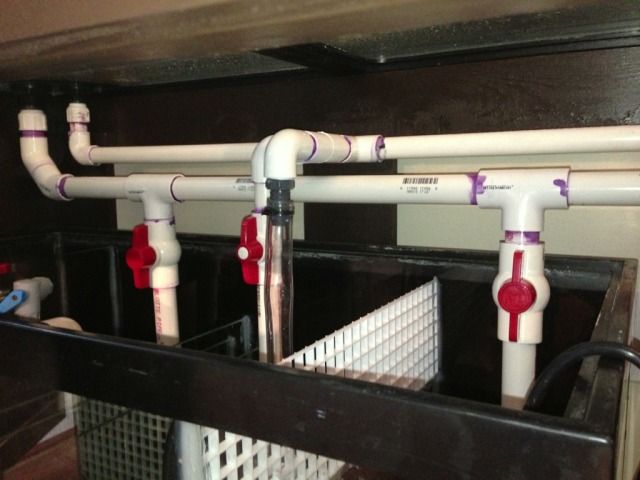
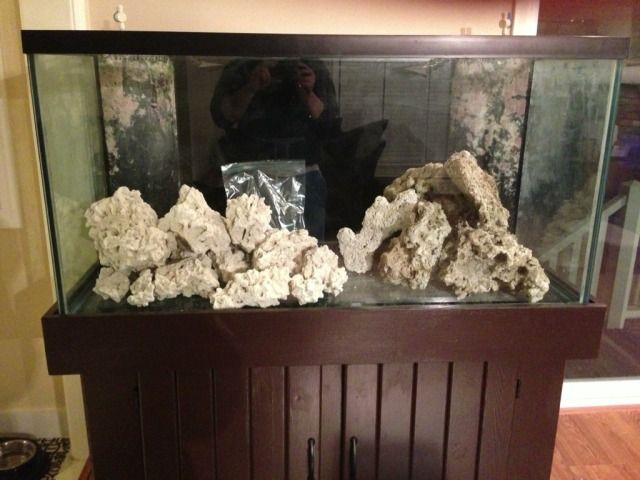
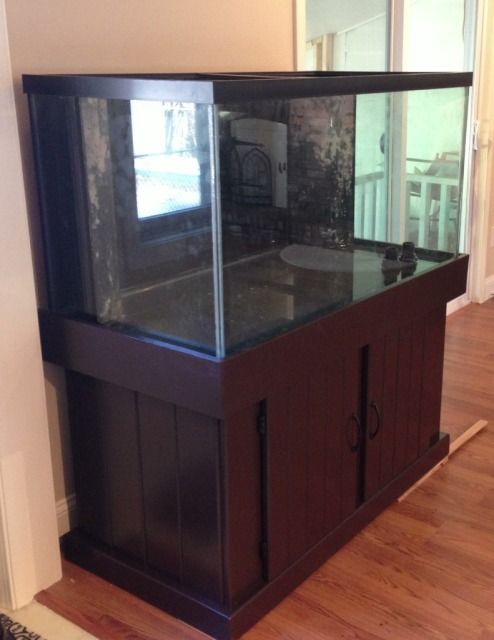
Another view of the tank:
21D1F1D0-FDAE-4EEF-9856-BE56057FF723-22435-0000097E53B16B59_zps47c3d5cb.jpg
 
Once the tank was nice and level on the stand, I got a start on building the canopy.

My idea behind the canopy is that I would have the front,sides, and back sit directly on top of the tanks plastic trim. After that I will trim out the bottom so that I will cover the plastic and have a similar look to the stand.

The top will have the same type of trim which will cover some seams and also hide the fact that the top panel of the canopy will be removable for lighting maintenance.

I will fabricate some door to mimic the stock stand doors so it will look more like they belong together. Finally I will trim out the rest of the exposed seems.

I also will be adding 2 fans one blowing in, and one blowing out. The remaining parts that I need to complete the canopy, lighting, and cooling aspects should be in this week.

I am hoping to finish up the canopy construction next weekend.

Here are a few pics:

B4C06AC6-B946-454C-91E3-5D9BDB828FC9-22435-0000097E6A9AD3CB_zpsfed6924e.jpg


77371E8F-2A40-4627-BB41-3C5E9B841889-22435-0000097E6635D734_zps1ec4d75c.jpg
 
Taking a break from the canopy construction, I decided to start working on some plumbing so I can be ready to get water in this thing. The came with some returns and overflow pipes from the previous owner but I decided to do some new stuff.

The returns are nothing special. They are 3/4 pvc equipped with a 6" long loc line connector and a 3" flared nozzle.
D7183195-3BB2-4CC0-901B-C96603B6E583-22435-0000097E60BFEE1C_zps07338b0a.jpg


Next was constructing some Durso style standpipes. I enlarged the piping from 1" to 1 1/4" as suggested in their DIY write-up. For a strainer, I went with a 6" piece of 1 1/4" pvc tubing and cut some slits in it. This should allow for the water to flow freely but keep snails, crabs, etc that might get into the overflows and sucked up.
D5151D9F-07C3-4AD5-89D0-D271C7829E43-22435-0000097E6FF49490_zpsf2272192.jpg


Here side view of the newly installed Durso style stand pipes. I had to cut down the T and the Elbow about 7/8" in order to fit them in the overflow areas.
6909D30F-C514-4069-903C-43DABFFEEC23-22435-0000097E75560B92_zpsdbee8835.jpg


Lastly a top view of both the Durso's and the returns.
841926C5-C19E-49F5-9A29-C36D461A8A79-22435-0000097E7A646752_zps25bcec55.jpg
 
Can you take a pic of the inside of the canopy? I'm trying to decide how I'm going to build one for my 75, what did you use for framing? I think I'm going to have to do 2x4s because I'm planning on making it so I can slide my light into it on something like rails in the sides, and the light is pretty heavy
 
I will when its all done. That was just a mock up so it was only tacked into place. I need to use glue and finish nails for the final assembly. It is now taken apart for the moment. I was planning on painting the inside before i re-assemble.

What you see there is 1/2 sandeply hardwood plywood. I was apply to use one 4 x 8 piece to do the sides, front, back, and top.

I was planning on 1x3 for the top and bottom trim.
 
No particular reason. T just had a sharper 90 than the elbows i saw. Figured i would have a little more clearance to the overflow wall. Either would have worked.
 
Just curious but why did you use a T and an end cap on top of the returns rather than a standard 90?

Thinking more about your observation, I could loose a little flow due to the T. I think the effects will be minimal though. I will let you know what happens. I did get an elbow today just to put it up next to the T to see the clearance difference. The elbow extended out a little more which I guess depending on how accurate of a a cut it could have caused some fitment issues with my loc line male adapter, but it would have been fine. At the time of buying the hardware I had the Durso concept in my head and just grabbed the Ts for the return line as well.

Thank you for your question. If I notice a huge effect of flow with the T in place I will swap it out.
 
Anyway moving on with the plumbing portion, in order for the Durso standpipes to work right, an air hole needs to be drilled at the top so there won't be a full siphon. From what I read it suggests to start small and see how it reacts and drill a larger hole and check again.

I decided rather than having to keep drilling holes, I would just add an adjustable valve out the top and adjust that until I get the water flowing properly and reduce noise.

FB10C4A2-94E5-4820-966D-2ADC03FB67B8-473-0000001FC0294F14_zpsd8499701.jpg
 
Looking good. A potential problem that you may run into with your returns- if you should turn your return pump off - then turn it back on you may find that upper portion/endcap become filled with air. which will slowly disperse itself back into your tank over the next 5-10 minutes and make a real mess. It may not happen but there is a good chance of it
 
Thanks for the input. I will keep an eye on it. Maybe something similar to the valve on the dursos could he done to purge some of that air out?
 
That's not a technique I'm familiar with. I'm not sure i would go that route. I'd just throw down the extra $5 and do them as 90's
 
Finished up the plumbing today. One step closer to getting water in this thing.

C77CD9AF-58AC-4E08-817F-E0F84809817D-473-00000068DA493395_zps11fe398d.jpg


DE68461E-4FFD-4480-9D88-C11EA6A93357-473-00000068DE4F2F87_zps1e449cdc.jpg


92E8427F-A9E9-4114-BCCE-06A10FB70474-473-00000068E324D7CD_zpsb78d8c91.jpg


93B94E53-5CEA-4838-BE43-326529B7F7C9-473-00000068E7F18B2C_zpsa324d3f7.jpg
 
So I received 50lbs of florida dry rock from reefcleaners. I also had some rock left from another tank that I have dried out to be reused.
Here is a pic of it just sitting in the tank.

7DCA65D4-33E2-4136-BACD-E1427C284287-2907-0000012764726D67_zps79560535.jpg


Next I laid it all down on a workbench in the basement to sort out the pieces I was going to use. As for the leftover pieces, I only wanted to use a limited amount. I have left it sit for over a year to dry out. I brushed off the pieces I was going to use with a steel brush to get any excess stuff off it to help prevent from pro-longing the cycle.

0BD8999B-0C06-42AE-A851-BCC33D1AA982-2907-0000012769D444CD_zps91650757.jpg
 
I know that you did the plumbing but I would have added a few unions in there incase you need to redo or add something later on down the road. Normally I do a union right after the bulkhead. Maybe you could cut and add one on those lengths right after the angles from the bulkheads.
 
My idea was to go with 3 separate portions in a pillar form with some nooks for fish to swim through. I want to have a very open aqua scape with nice viewing all the way around but still enough for coral placement and hiding places for fish.

I think I ended up using roughly 75-80lbs of rock. I used all different methods to put the rock together. I used acrylic rods drilled into the rock for the bigger pieces and used JB water weld and silicone for some of the other pieces. So far it seems to be nice and sturdy.

First Pillar
C93E5C38-618B-4CBB-936A-B37969AE491E-5769-00000216D66BF9E2_zpsbc8fba80.jpg


Second Pillar
5605627D-C748-4F9C-8EC2-1947120C0791-5769-00000216DE7CE9D7_zpsb623a61d.jpg


Third Pillar
11960B08-B3D5-4608-9C4B-8F1EBAC8FB27-5769-00000216E4BD7DF5_zps71e77c90.jpg


All Together
AA782690-4455-4216-A2E8-C5EA69061457-5769-00000216EE0DB14C_zps2741c1c3.jpg


I plan on moving the right piece in the center when I put the rock in the tank. Also thinking about looking for a nice arch piece to connect one of the sides to the center for a nice bridge.

Getting very close to having water in this thing. I am shooting for next weekend to get it filled and cycling.
 
I know that you did the plumbing but I would have added a few unions in there incase you need to redo or add something later on down the road. Normally I do a union right after the bulkhead. Maybe you could cut and add one on those lengths right after the angles from the bulkheads.

I thought about unions, but I decided not to. I really no plans for adding anything into the system plumbing wise. It was very tight getting in there to do the plumbing work and having to try in get in there after everything is going to add something wouldn't be ideal. I figured I would just pipe it in and not play around with it. The only thing I made sure was that I had my ball valves in there to shut the water flow to do any needed maintenance to pumps etc.
 
Back
Top