DIY Project showcase!!

NateHanson

Non-member
I thought it would be cool to have a picture gallery of all the DIY projects our members have done for their ReefTanks. Big and small, professional-looking and totally ghetto, let's just see the full range. It could be your kalk dripper, DIY skimmer, a sump you built or baffled, even something simple like a home-made glass scraper. Everything will inspire or impress someone. :)

Please post a picture of your finished product, and if you'd like to, include a brief description. Even if you've already posted it in a previous thread, please add it to this gallery so we have a easily accessible collection of as many projects as possible.

I'd prefer not to get into discussions of the projects here, so we don't lose the photo-gallery effect. Feel free to start your dedicated thread if there's discussion to be had about your project or someone elses. (Part of the purpose of this gallery is to encourage all the closet DIYers to start posting their Frankenstein creations for the rest of the group to see.)

So here it is, your excuse to show off your stuff. :D Enjoy!

Nate
 
Last edited:
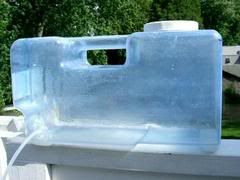
Kalk Reactor

I'll start it out with a powerhead stirred Kalk Reactor I built. It's gravity or pump fed with RODI through the lid to the bottom of the chamber, and saturated Kalk is pushed out of the second fitting in the lid (to the left). The very small powerhead is controlled by a digital timer, and stirs the kalk for one minute, three times per day.
 

Attachments

  • kalk.jpg
    kalk.jpg
    70.7 KB · Views: 11,014
Love the toilet flange on your kalk reactor Bill! :)

Looking great folks, who's got more?

Here's a basic sump to keep things moving. It's a 55g in the basement. Drain is on the left there, and the skimmer sits over there now. 4 baffles then the return section with auto-topoff. Fuge is behind the return pump with a tilted baffle to prevent a waterfall.

Nate
 

Attachments

  • sump.jpg
    sump.jpg
    87.8 KB · Views: 9,816
How about this for a frankenstien creation :D

Its my DIY plankton and brine shrimp reactor
 

Attachments

  • 40302reactor.jpg
    40302reactor.jpg
    21.6 KB · Views: 11,418
Here is one of of my early reactors (now collecting dust in the cellar)
 

Attachments

  • reactor3.jpg
    reactor3.jpg
    46.4 KB · Views: 10,356
And here is the behemoth I made for Armando , and JayG for that matter
 

Attachments

  • Armandos_reactor.jpg
    Armandos_reactor.jpg
    18.5 KB · Views: 9,601
collecting dust?! :eek: send it over here! :)
Great looking Ca reactors!

And Liam, your phyto farm looks like an ultra-modern bathroom lighting fixture. :) I hope that's not hidden back in your fish room.
 
Nice thread NateHanson.

I will also add nice job everyone.

Here are some really old projects that I have done.
This will save you alot of money.
All this stuff can be picked up at your local RadioShack.

Parts on the list to get.
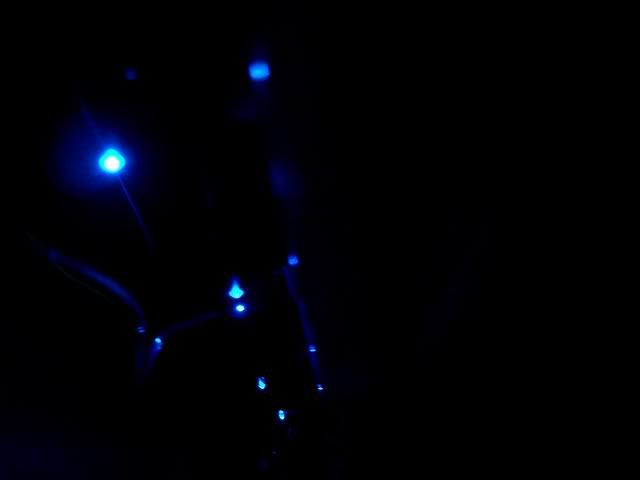
1__depending on the size of your tank (Example) I have a 75 gallon so I used 7 led's. Here is the part # 276-316, Blue 2600 MCD and the price of each led is $4.29

2__You need a power device t power up the led's
part # 273-1757, 4.5VDC/700mA AC-to-DC Adapter
Price of adapter $17.99


3__Next you need to get some 18g wire. This can be picked up any place.


4__next thing that is needed is a soldering gun and solder.


5__Next will be the project enclosure box, Part #270-1801
Price of the part $2.29

6__ Double-Sided Foam Tape


After you get all the parts its time to make it happen.
Drill the encloure box to the size of the led.Rember to drill a small hole on the side of the box so there is a place for the wire to come out.
Next is cut the lenth's of cable you need to use. Solder the led's to the wire. Follow this till you have all the led's you want to use.
Next is you need to plug the power supply in. Take your wire's that you connected to your led's and plug them into the power supply to give it the test.

Depending on how many led's you use you might need a resistor. (Example) 1 or 2 led's
Last is install them where you want them in the canopy.
CIMG0727.jpg

_________________________________________________________________________

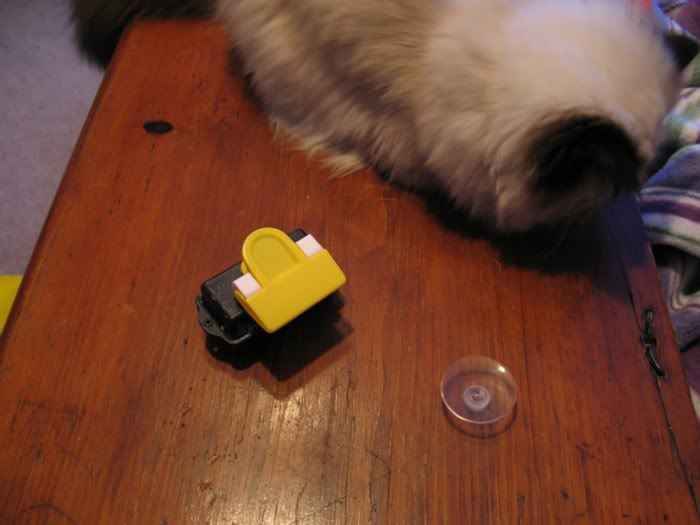
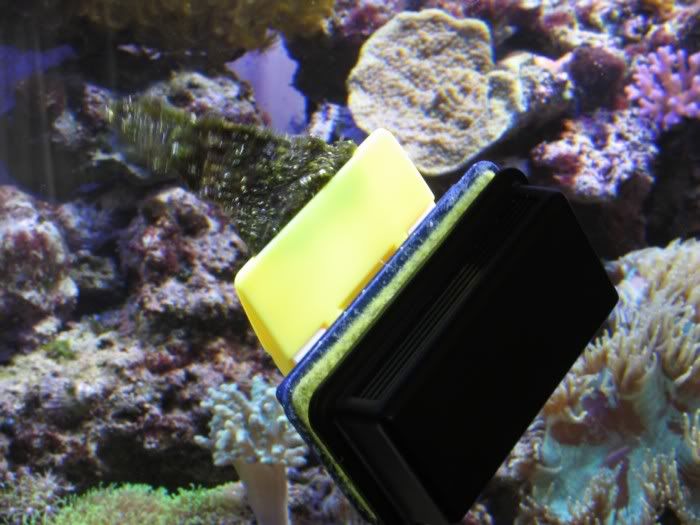
This was not my idea but I thought it was great so I made one
Mag clip
project.jpg

project3.jpg

project_908.jpg

_________________________________________________________________
 
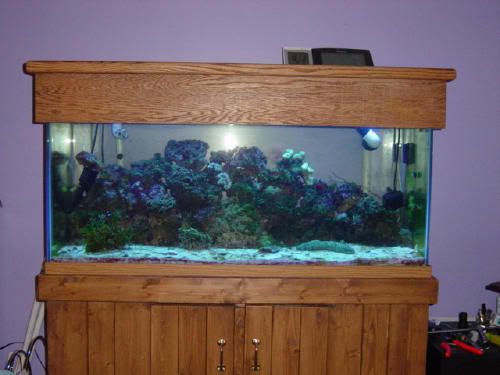
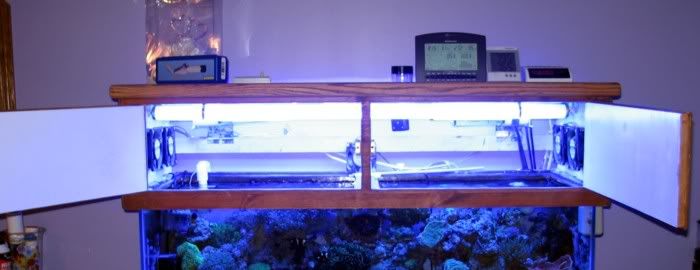
Canopys that I built for my 75
First one.(as you can tell..
oldcanopy.jpg

Second one
side.jpg

canopy_inside.jpg

_________________________________________________________________________
 
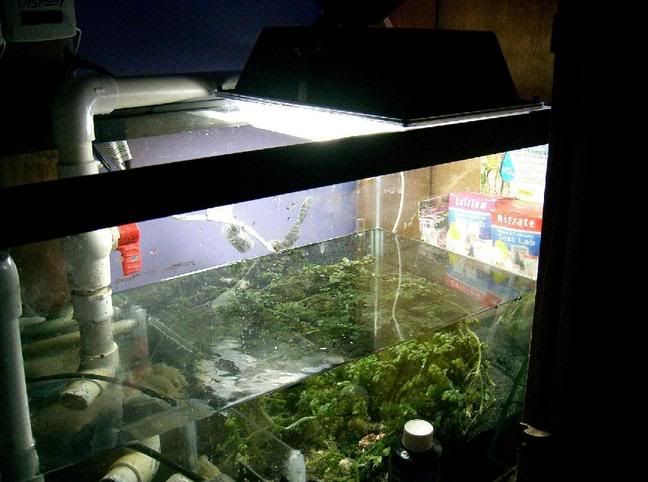
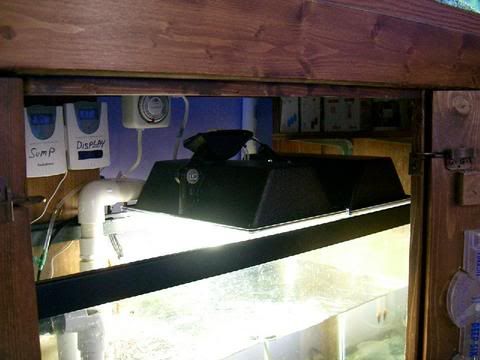
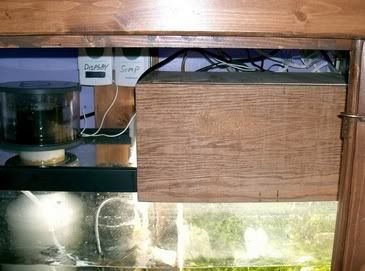
My do it yourself fuge.(Not my greatest but it worked)
Lighting..(Lights Of America from the Homedepot) 2 65w 6500k's
CIMG0460.jpg

CIMG0734.jpg

Then I made a canopy for it.
CIMG1232.jpg

_________________________________________________________________________
 
My Auto top-off system.(At the time)
CIMG0684.jpg

CIMG0685.jpg

CIMG0687.jpg

_________________________________________________________________________
 
And Liam, your phyto farm looks like an ultra-modern bathroom lighting fixture. :) I hope that's not hidden back in your fish room.[/QUOTE]

LOL ,yeah when i lived in my apartment i had it on the kitchen wall.It was quite a conversation piece,needless to say everyone that visited thought i had mental health issues :D
 
Nice projects everyone! I'm getting inspired!

Here's pics of the largest DIY project I've done (and still in the works).
A 345 gallon plywood/glass tank and stand. 1" thick plywood, 100+ heavy duty screws, 1 gl epoxy paint, 3/8" plate glass and lots of silicone sealent!
 

Attachments

  • P4070003A.jpg
    P4070003A.jpg
    24.7 KB · Views: 8,773
  • P6050012A.jpg
    P6050012A.jpg
    22.1 KB · Views: 12,107
Here's a couple more of the tank getting filled(if you could see behind the camera, you'd see my fingers crossed!) and acclimating the new lights.
 

Attachments

  • P8030002A.jpg
    P8030002A.jpg
    20.3 KB · Views: 8,519
  • P4140011A.jpg
    P4140011A.jpg
    58.8 KB · Views: 8,529
Back
Top